
In this guide, I’ll walk you through the process of setting the travel limits on a Genie Garage Door Repair Knoxville TN in, covering each step in detail to help you complete the task successfully.
Step 1: Prepare the Opener
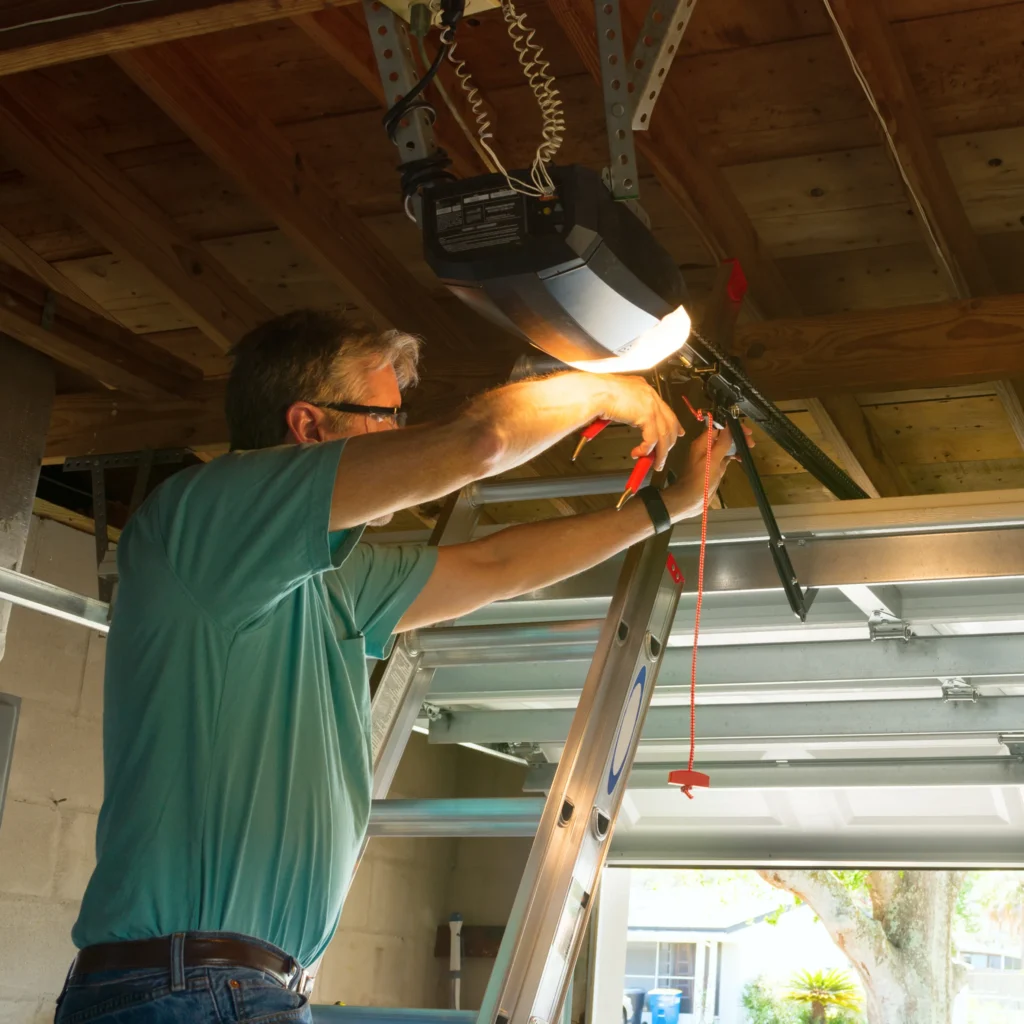
Before you begin, make sure the garage door opener is powered off to avoid any accidents. Locate the “Learn Code” button on the opener unit, typically located near the antenna wire. This button is used to enter programming mode.
Step 2: Access the Adjustment Controls
Depending on the model of your Genie garage door opener, the adjustment controls may be located on the opener unit itself or on the remote control. Refer to your owner’s manual to determine the location of the adjustment controls and how to access them.
Step 3: Identify the Up and Down Limit Screws
Most Genie garage door openers have separate limit adjustment screws for the up (open) and down (close) travel limits. These screws are typically labeled “Up Limit” and “Down Limit” and may be located on the opener unit or on the remote control.
Step 4: Set the Down Limit
To set the down limit, start with the garage door fully closed. Use a stepladder to access the opener unit if necessary. Locate the “Down Limit” adjustment screw and turn it clockwise to decrease the travel distance or counterclockwise to increase it.
Step 5: Test the Down Limit
After making adjustments to the down limit, test the door to ensure it closes completely without hitting the ground. Press the remote control or wall button to operate the door and observe its movement. If the door stops too high or too low, continue adjusting the down limit screw until it closes properly.
Step 6: Set the Up Limit
Once the down limit is properly set, move on to adjusting the up limit. Open the garage door fully and locate the “Up Limit” adjustment screw. Turn the screw clockwise to decrease the travel distance or counterclockwise to increase it.
Step 7: Test the Up Limit
After making adjustments to the up limit, test the door to ensure it opens completely without hitting the ceiling. Press the remote control or wall button to operate the door and observe its movement. If the door stops too high or too low, continue adjusting the up limit screw until it opens properly.
Step 8: Fine-Tune the Limits
Once both the up and down limits are set, perform several additional tests to fine-tune the travel distances. Open and close the door multiple times, observing its movement and ensuring that it stops in the correct positions each time. Make any necessary adjustments to the limit screws as needed.
Step 9: Lock in the Settings
Once you are satisfied with the travel limits, lock in the settings to prevent accidental changes. Press the “Learn Code” button on the opener unit or remote control to exit programming mode and save your adjustments.
Step 10: Perform Safety Tests
After setting the travel limits, it’s essential to perform safety tests to ensure that the door operates safely and smoothly. Test the safety reversal system by placing an object, such as a piece of wood, in the path of the closing door. The door should reverse immediately upon contact with the object.
Conclusion
If you encounter any difficulties or have questions about the process, refer to your owner’s manual or contact Genie customer support for assistance. With properly set travel limits, your Genie Garage Door Repair Knoxville TN will provide reliable performance for years to come.
Camco Commercial Door Company
1-865-776-9455
Leave a Reply