The Largest Business Blog in Texas

Month: December 2022

How Much to Replace Garage Door – Camco Commercial Door Company

When I needed to replace my garage door, I was initially unsure about the cost involved. I did some research and consulted with professionals to understand the factors that influence the overall expense. Here’s what I learned:

According to Garage Door Repair Services, the cost of replacing a garage door can vary based on several factors, such as the size, material, design, insulation, and additional features. The size of the garage door is an important consideration. Standard-sized doors are generally more affordable, while custom sizes or larger doors for multi-car garages may be more expensive.

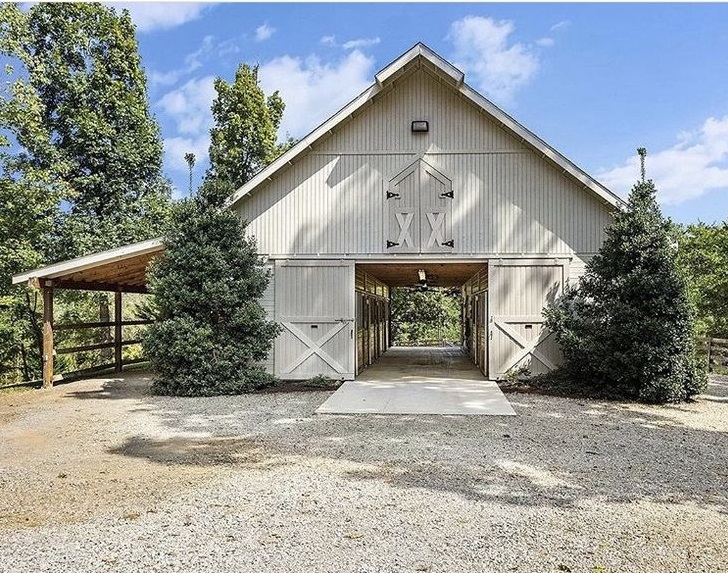
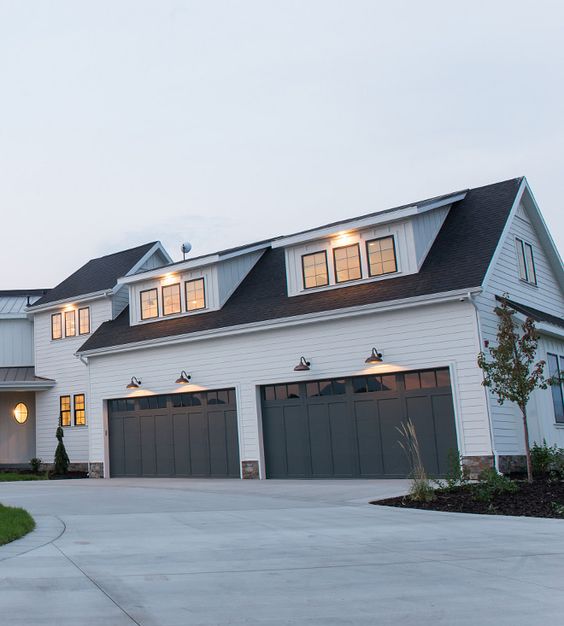
The material of the garage door also affects the cost. I found that steel doors are often the most budget-friendly option. They are durable, low-maintenance, and offer good insulation properties. On the other hand, wooden doors are more expensive due to their natural beauty and craftsmanship. They require more maintenance but can provide an elegant look. Aluminum and fiberglass doors fall in the mid-range in terms of cost, offering different benefits such as lightweight construction and resistance to corrosion.

The design and style of the garage door can significantly impact the cost as well. Basic, plain panel designs are typically more affordable, while doors with intricate details, windows, or decorative hardware can increase the price. I decided to choose a door design that matched the overall aesthetics of my home, which added a bit to the cost but enhanced the curb appeal.

Insulation is another factor to consider, especially if you live in an area with extreme temperatures. Insulated garage doors offer better thermal efficiency and can help reduce energy costs. However, they do come with a higher price tag compared to non-insulated doors. After evaluating the long-term benefits, I opted for an insulated door, considering the potential energy savings.

Additional features and options also contribute to the overall cost. For instance, adding windows to the garage door for natural light or opting for decorative hardware can increase the price. I also considered smart technology options that allow for remote control or integration with home automation systems. While these advanced features can enhance convenience, they do come at an additional cost.

Professional installation is crucial for a safe and proper garage door replacement. The installation cost can vary based on factors such as the complexity of the job, any modifications required, and the location. I decided to hire a professional installer to ensure that the door was installed correctly and to avoid any potential issues.

Based on my research and discussions with garage door professionals, the cost of replacing a garage door can range from a few hundred dollars for a basic, non-insulated, single-car steel door to several thousand dollars for a larger, custom-designed, insulated door with additional features.

To get an accurate cost estimate for your specific needs, I recommend contacting local garage door dealers or manufacturers. They can provide detailed quotes based on the size, material, design, insulation, and additional features you desire.

Ultimately, as per Garage Door Repair Services, it’s essential to balance your budget with your preferences and the long-term benefits of a high-quality garage door replacement. Investing in a reliable and aesthetically pleasing door will not only enhance the security and functionality of your garage but also add value to your home.

Camco Commercial Door Company

853 East Wolf Valley Rd. Heiskell, TN 37754

865-776-9455

How to Attach Foam Board to Garage Door – Tarrant County Door & Gate

Attaching foam board to my garage door was a project I undertook to improve insulation and create a more comfortable environment.

Here’s how I went about it according to Garage Door Repair:

First, I measured the dimensions of each panel on my garage door. Using a tape measure, I carefully noted down the length and width of each panel. This information helped me determine the size of foam board needed.

Next, I obtained foam board sheets from a local home improvement store. With my measurements in hand, I selected foam boards that matched the dimensions of each garage door panel. I made sure to choose foam board with a suitable thickness for optimal insulation.

With the foam board sheets ready, I prepared to attach them to the garage door panels. I started by cleaning the surface of each panel. Using a mild detergent mixed with water, I wiped away any dirt or debris, ensuring a clean and smooth surface for better adhesion.

Once the panels were clean and dry, I began cutting the foam board sheets. Following the measurements I had taken earlier, I marked the cutting lines on the foam board using a pencil or marker. With a utility knife or foam board cutter, I carefully cut along the marked lines to obtain foam board pieces for each panel.

After cutting the foam board, I applied adhesive to the back of each piece. I chose an adhesive recommended for foam board and followed the manufacturer’s instructions for proper application. Making sure to cover the entire back surface, I applied the adhesive evenly, ensuring good coverage.

With the adhesive applied, I positioned each foam board piece onto its corresponding garage door panel. Taking care to align the edges, I pressed firmly to ensure a strong bond between the foam board and the panel surface. I repeated this process for each panel, carefully attaching the foam board pieces one by one.

To provide additional support and prevent the foam board from shifting, I used adhesive tape or adhesive-backed fasteners along the edges of each foam board piece. This helped secure the foam board to the garage door panels and added extra stability.

Once all the foam board pieces were in place, I tested the garage door’s movement. I opened and closed the door several times, observing its operation and checking for any obstructions or signs of interference from the foam board. If necessary, I made slight adjustments to ensure smooth and unimpeded movement.

To enhance insulation further, I considered adding weatherstripping or foam tape along the edges of the foam board panels. This would create a tighter seal and prevent drafts or air leakage. I carefully applied the weatherstripping or foam tape around the edges, making sure to create a secure barrier.

Regular maintenance was important to ensure the foam board remained securely attached and in good condition. I periodically inspected the foam board installation, checking for any signs of damage or detachment. If any issues arose, I addressed them promptly to maintain the effectiveness of the insulation.

In summary, as per Garage Door Repair, by attaching foam board to my garage door, I was able to improve insulation and create a more comfortable space. The process required careful measurement, cutting, and adhesive application, but the results were well worth it. I enjoyed the benefits of a better-insulated garage, providing increased temperature control and reduced noise.

Tarrant County Door & Gate

6408 Marlette Court,North Richland Hills, TX

817-456-2958

How to Repair Garage Door Spring – Circle B Overhead Door

When it comes to repairing a garage door spring, I want to emphasize the importance of safety. Repairing garage door springs can be dangerous due to the high tension involved, so it’s essential to take proper precautions. If you’re not experienced or comfortable with garage door repairs, it’s highly recommended to seek the help of a professional.

However, if you feel confident in your abilities and decide to proceed with the repair, here’s a general guide from Garage Door Repair on how I have repaired a garage door spring:

First and foremost, I emphasize the need to release the tension from the springs. This step is critical to prevent any accidents or injuries. For torsion springs, I use winding bars to carefully unwind the springs, following the specific instructions provided by the manufacturer or a professional. With extension springs, I ensure that the door is secured in the open position and disconnect the springs from the pulleys and brackets.

Once the tension is released, I can proceed with removing the damaged spring. I use a socket wrench and vice grips, if necessary, to loosen and remove the bolts or screws holding the spring in place. It’s important to pay attention to the specific configuration and placement of the spring for the installation of the new one.

Next, I install the new spring. If it’s a torsion spring, I slide it onto the torsion tube and secure it to the center bracket using the appropriate bolts or screws. For extension springs, I attach the new spring to the pulleys and brackets, ensuring proper alignment. It’s crucial to follow the manufacturer’s instructions or seek professional guidance during this step to ensure proper installation.

Once the new spring is in place, I reapply tension to the springs. With caution and precision, I use the winding bars to carefully wind the springs. This step requires careful attention to ensure the correct amount of tension is applied. Incorrect tensioning can result in imbalanced or malfunctioning garage doors.

After applying tension to the springs, I test the garage door by manually raising and lowering it a few times. I pay close attention to any unusual sounds or imbalances. If there are any issues, I make necessary adjustments to the spring tension or seek professional assistance. It’s crucial to have a properly functioning garage door for safety and convenience.

As a final step, I lubricate the moving parts of the garage door, including the springs, rollers, hinges, and tracks. This helps reduce friction and ensures smooth operation. I use a high-quality garage door lubricant and apply it according to the manufacturer’s instructions.

I want to reiterate the importance of prioritizing safety during the entire process. It’s crucial to wear safety goggles and work gloves to protect yourself from potential injuries. If you encounter any difficulties or uncertainties during the repair process, it’s best to seek professional assistance. Garage door spring repair can be hazardous, and it’s essential to prioritize your well-being.

Overall, by following steps from Garage Door Repair, I hope this gives you a general idea of how to approach repairing a garage door spring. Remember, safety should always be the top priority, and seeking professional help is highly recommended if you’re unsure about any aspect of the process.

Circle B Overhead Door

1818 Drillers Dr, Bryan, TX 77808, United States

979-324-6733

How to Pair Garage Door Opener – Arnold’s Garage Door Service

Here’s how I would pair a garage door opener according to Garage Door Repair Services:

First, I determine the type of garage door opener I have. In my case, it’s a rolling code opener. Understanding the type of opener is important to proceed with the pairing process correctly.

Next, I make sure that the garage door opener is powered on and ready to receive the signal from the remote or keypad.

I access the programming mode on my garage door opener by following the instructions provided by the manufacturer. This usually involves pressing a specific combination of buttons on the opener unit or following a step-by-step process outlined in the owner’s manual.

If I’m replacing an existing remote or keypad, I clear the existing programming first. This ensures that only the new device will be paired with the opener. I follow the instructions to clear the existing programming, as provided by the manufacturer.

Now, it’s time to enter the programming code or sequence. I carefully follow the instructions provided by the manufacturer, which typically involve pressing certain buttons in a specific order or using a keypad to input a code.

Once I’ve entered the programming code or sequence, I’m ready to transmit the signal. I press the appropriate button on the remote or keypad to initiate the signal transmission to the garage door opener.

I look for a response from the garage door opener, such as a flashing light or a specific sound, indicating that the pairing process was successful. This confirms that the remote or keypad is now paired with the opener. To be certain, I test the remote or keypad by opening and closing the garage door to ensure it operates the opener as intended.

If I have additional remotes or keypads to pair with the garage door opener, I repeat the previous steps for each device. I make sure to follow the specific programming instructions for each remote or keypad.

Once all devices are paired, I test each one to ensure they are functioning correctly. I open and close the garage door using each remote or keypad to verify that they are communicating properly with the opener.

Finally, I keep the owner’s manual and any programming documentation in a safe place for future reference. This way, I’ll have the necessary information on hand if I need to reprogram or troubleshoot the garage door opener in the future.

Overall, as stated in Garage Door Repair Services, it’s important to note that these steps are a general guide for pairing a garage door opener, and the specific instructions may vary depending on the manufacturer and model of your opener. Always refer to the owner’s manual or consult the manufacturer’s documentation for your particular garage door opener to ensure accurate and successful pairing.

Arnold’s Garage Door Service

2129 Tippy Ter, Fort Worth, TX 76134

682-261-6268

Powered by WordPress & Theme by Anders Norén