
Here’s a step-by-step guide on how to install concrete flooring according to Concrete Flooring Stockton CA:
- Prepare the Surface:
The first step is to prepare the surface where the concrete flooring will be installed. This involves removing any existing flooring, cleaning the surface thoroughly, and ensuring that the subfloor is level and structurally sound. Any cracks or holes in the surface should be filled and leveled using a patching compound.
- Install a Vapor Barrier:
The next step is to install a vapor barrier. This is a layer of plastic sheeting that prevents moisture from seeping into the concrete from the subfloor. The vapor barrier should be placed over the subfloor, with the edges overlapping and sealed using a moisture-resistant tape.
- Build a Subfloor:
If the existing subfloor is not suitable for concrete flooring, a new subfloor will need to be built. This can be done using plywood or OSB (oriented strand board) that is screwed or nailed down to the existing subfloor. The new subfloor should be at least 1 inch thick to provide adequate support for the concrete.
- Add Reinforcement:
Reinforcement can be added to the concrete to increase its strength and durability. This can be done using steel rebar, wire mesh, or fiberglass mesh. The reinforcement should be placed over the vapor barrier or subfloor, with a minimum of 2 inches of concrete covering it.
- Mix the Concrete:
The next step is to mix the concrete. This involves combining cement, sand, and aggregate in the correct proportions, according to the manufacturer’s instructions. Water is then added to the mixture until it reaches the desired consistency.
- Pour the Concrete:
Once the concrete is mixed, it can be poured onto the surface. It should be spread evenly using a screed board or bull float. If a large area is being covered, it may be necessary to work in sections to ensure that the concrete is level and smooth.
- Smooth the Surface:
Once the concrete is poured, it should be smoothed and leveled using a trowel. This will create a smooth surface that is ready for finishing.
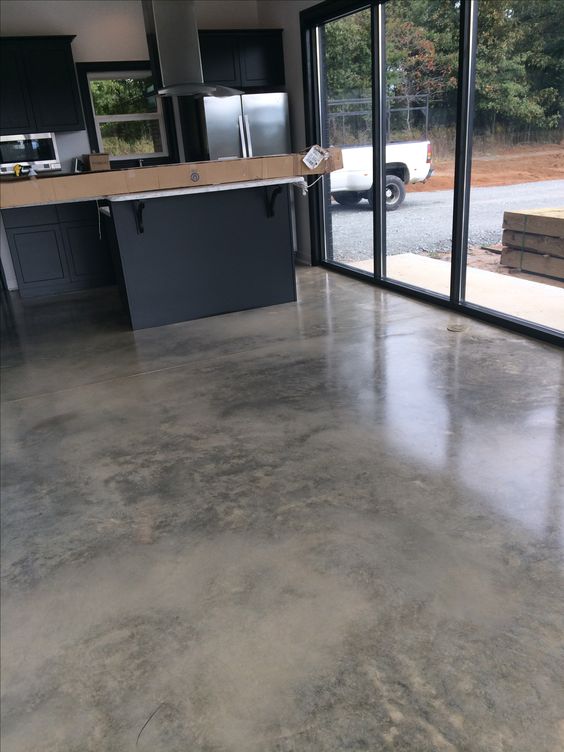
- Add a Finish:
There are several finishing options for concrete flooring, depending on the desired look and level of durability. These include staining, polishing, or adding a decorative overlay. A sealer should be applied to the finished surface to protect it from stains and moisture.
- Allow Time to Cure:
After the concrete is installed, it will need time to cure. This can take anywhere from 3 to 7 days, depending on the weather conditions and the type of concrete. During this time, the surface should be kept moist to prevent cracking.
In conclusion, based from Concrete Flooring Stockton CA, installing concrete flooring requires careful preparation, proper equipment, and expertise. It’s important to follow these steps closely to ensure that the concrete is installed correctly and will last for years to come. If you’re not comfortable installing concrete flooring yourself, it’s recommended to hire a professional to ensure the job is done right.
Jenco Companies
402 N Harrison St, Stockton, CA 95203, United States
209-931-8129
Leave a Reply