
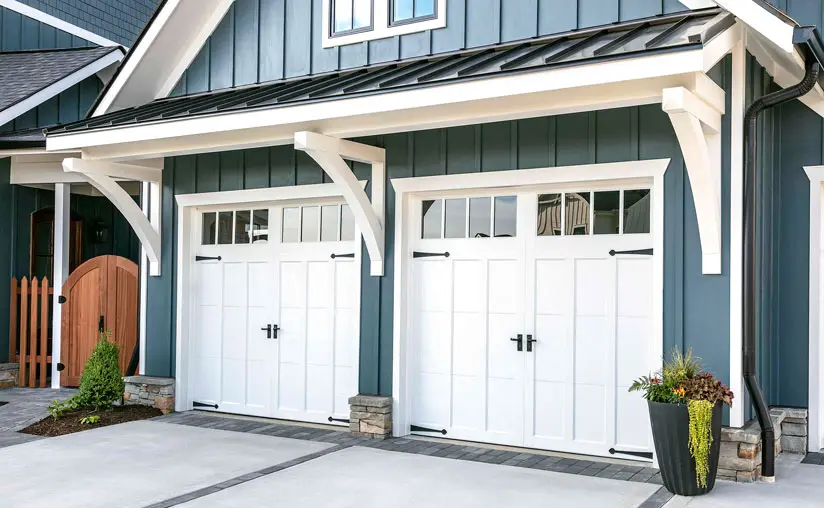
Garage Door Repair Suwanee GA is a manageable DIY project that can enhance the security and convenience of your home.
Whether you’re replacing an old opener or installing a new one, proper installation is essential for optimal performance and safety. In this comprehensive guide, we’ll walk you through the steps to install a Sears garage door opener safely and effectively.
Understanding Sears Garage Door Openers
Before starting the installation process, it’s essential to familiarize yourself with the components and operation of your Sears garage door opener.
Types of Sears Garage Door Openers
Sears offers a range of garage door opener models, including chain-drive, belt-drive, and screw-drive options. Each type operates using a different mechanism, but the installation process is similar for all models.
Pre-Installation Considerations
Before installing your Sears garage door opener, there are several factors to consider to ensure a successful installation process.
Assessing Compatibility
Ensure that the new Sears garage door opener is compatible with your existing garage door system, including the size and weight of the door, as well as any existing hardware and accessories.
Checking Clearance and Space
Measure the available clearance above the garage door to ensure that there is enough space to install the opener and accommodate the rail and motor unit.
Gathering Tools and Materials
Gather all necessary tools and materials for the installation, including a power drill, wrenches, screwdrivers, level, measuring tape, and safety equipment.
Step-by-Step Installation Guide
Follow these step-by-step instructions to install your Sears garage door opener safely and efficiently.
1. Unpack and Inspect the Opener
Carefully unpack the contents of the Sears garage door opener kit and inspect all components for any damage or missing parts.
2. Install the Rail and Trolley Assembly
- Attach the rail to the motor unit using the provided hardware, ensuring that it is aligned and securely fastened.
- Install the trolley assembly onto the rail according to the manufacturer’s instructions, making sure it moves freely along the rail.
3. Mount the Motor Unit
- Position the motor unit on the ceiling of the garage, ensuring that it is centered above the garage door and aligned with the rail.
- Secure the motor unit to the ceiling using sturdy mounting brackets and hardware, making sure it is level and stable.
4. Install the Drive System
- Connect the drive system components, such as the drive chain or belt, to the motor unit and trolley assembly, following the manufacturer’s instructions.
- Adjust the tension of the drive system as needed to ensure smooth and balanced operation.
5. Attach the Garage Door Bracket
- Install the garage door bracket to the top section of the garage door, ensuring that it is securely fastened and aligned with the trolley assembly.
6. Connect the Power and Control Wires
- Connect the power cord and control wires from the motor unit to the electrical outlet and control panel, following the wiring diagram provided in the installation manual.
7. Program the Opener
- Follow the manufacturer’s instructions to program the remote controls and keypad, as well as set the travel limits and force settings for the opener.
8. Test the Operation
- Manually open and close the garage door several times to ensure that the opener operates smoothly and effectively.
- Make any necessary adjustments to the travel limits, force settings, and alignment as needed.
9. Secure and Finish Installation
- Secure all hardware and components to prevent them from coming loose during operation.
- Install any additional accessories, such as safety sensors or battery backup systems, according to the manufacturer’s instructions.
Safety Precautions
- Always disconnect the power to the garage door opener before starting the installation process to prevent electrical shocks or accidents.
- Use caution when working with heavy components and moving parts to avoid injury.
- Follow all safety guidelines and instructions provided by the manufacturer throughout the installation process.
Conclusion:
By following these step-by-step instructions and taking necessary safety precautions, you can successfully install your Sears garage door opener and enjoy the convenience and security it provides. If you encounter any difficulties during the installation process, consult the manufacturer’s instructions or seek professional assistance to ensure a safe and efficient installation.
Southern Home Creations Garage Doors & Openers
4110 Tench Rd Suite D, Suwanee, GA 30024, United States
1-770-831-0301
Leave a Reply