
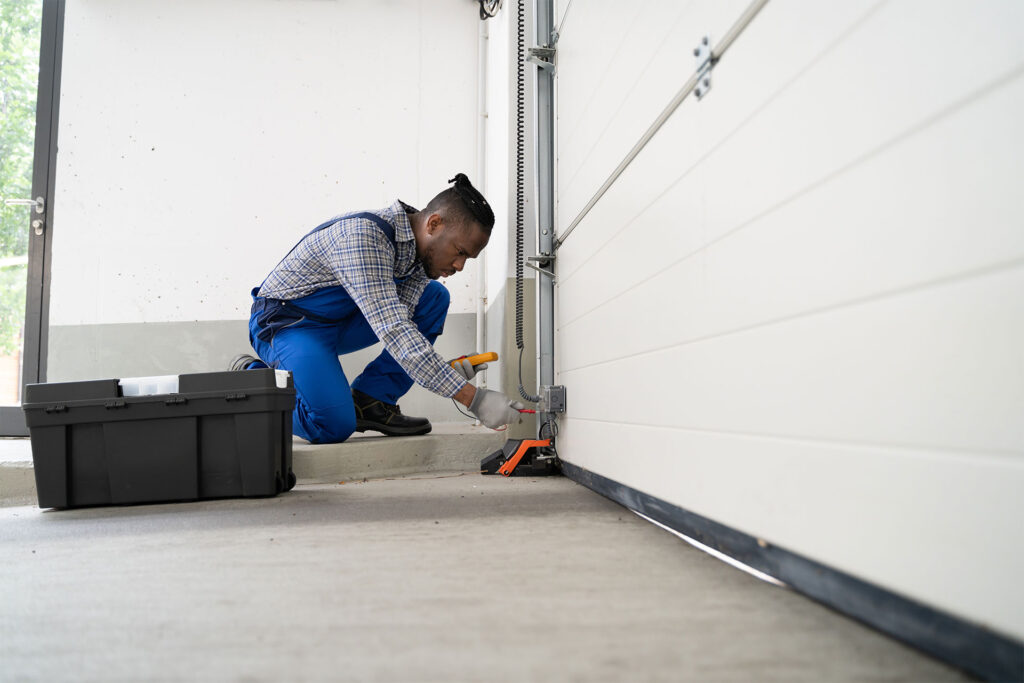
Hanging a Garage Door Repair Bedford TX track is a critical step in the installation process, as it provides support and guidance for the movement of the garage door. Proper installation ensures smooth and reliable operation of the door while minimizing wear and tear on its components. In this guide, I’ll walk you through the steps to hang a garage door track, from preparation to mounting and alignment.
Step 1: Gather Necessary Tools and Materials
- Garage Door Track Kit: Ensure you have all components included in the garage door track kit, including horizontal and vertical track sections, brackets, bolts, nuts, and screws.
- Power Drill: You’ll need a power drill with appropriate drill bits for securing the track brackets to the wall or ceiling.
- Level: Use a level to ensure the track is installed straight and level for smooth door operation.
- Tape Measure: Measure distances accurately to ensure proper alignment and spacing of the track sections.
- Ladder: Use a sturdy ladder to access the installation area safely.
Step 2: Prepare the Installation Area
- Clear the Space: Remove any obstructions or clutter from the installation area to provide ample space for mounting the track sections.
- Measure and Mark: Use a tape measure and pencil to mark the locations where the track brackets will be mounted on the wall or ceiling. Ensure the marks are level and evenly spaced according to the manufacturer’s guidelines.
Step 3: Install the Vertical Track Sections
- Attach the Bottom Bracket: Position the bottom bracket of the vertical track section at the desired height above the floor, typically around 6 inches from the ground. Use a level to ensure it is plumb, and mark the hole locations for drilling.
- Drill Pilot Holes: Use a power drill to drill pilot holes for the mounting bolts or screws into the marked locations on the wall. Use appropriate anchors if mounting to drywall or other non-structural materials.
- Secure the Track: Align the vertical track section with the pilot holes and attach it to the wall using bolts, nuts, and washers. Tighten the bolts securely to ensure the track is firmly anchored in place.
Step 4: Install the Horizontal Track Sections
- Position the Horizontal Track: Position the horizontal track sections on the ceiling or wall above the garage door opening, ensuring they are parallel to the floor and aligned with the vertical track sections.
- Mark Hole Locations: Mark the hole locations for drilling pilot holes to secure the track brackets. Ensure the track sections are spaced evenly and aligned properly with the vertical tracks.
- Drill Pilot Holes: Use a power drill to drill pilot holes into the marked locations on the ceiling or wall. Use anchors if necessary to ensure secure attachment.
- Secure the Track: Attach the track brackets to the ceiling or wall using bolts, nuts, and washers. Ensure the brackets are aligned with the pilot holes and tighten the bolts securely to hold the track sections in place.
Step 5: Align and Test the Track
- Check Alignment: Use a level to check the alignment of the track sections and ensure they are straight and level. Make any necessary adjustments to the track brackets to achieve proper alignment.
- Test Door Operation: Once the track sections are securely installed and aligned, test the operation of the garage door to ensure it moves smoothly along the track without binding or sticking.
- Make Adjustments: If the door does not operate smoothly, check for any obstructions or misalignments in the track system. Make adjustments to the track brackets as needed to correct any issues.
Step 6: Secure Loose Ends and Finish
- Trim Excess Track: Trim any excess length from the track sections using a hacksaw or reciprocating saw, if necessary, to ensure a clean and finished appearance.
- Secure Loose Ends: Use end caps or fasteners to secure any exposed ends of the track sections and prevent injury or damage.
- Final Inspection: Conduct a final inspection of the installed track system to ensure all components are securely attached, aligned properly, and free from defects or damage.
Conclusion:
By following the steps outlined in this guide and using the appropriate tools and techniques, you can successfully install a Garage Door Repair Bedford TX track system that provides support and guidance for your garage door for years to come. If you’re unsure about any aspect of the installation process, consider consulting a professional garage door installer for assistance.
DFW Garage Door Experts
2165 Loma Alta Dr, Bedford, TX 76021, United States
https://maps.app.goo.gl/CJiQmxsf3p2hxXfYA
Leave a Reply