The Largest Business Blog in Texas

Category: GARAGE DOOR SUPPLIER Page 3 of 25

Can I Replace Just One Panel On My Garage Door – Garage Door Solutionz

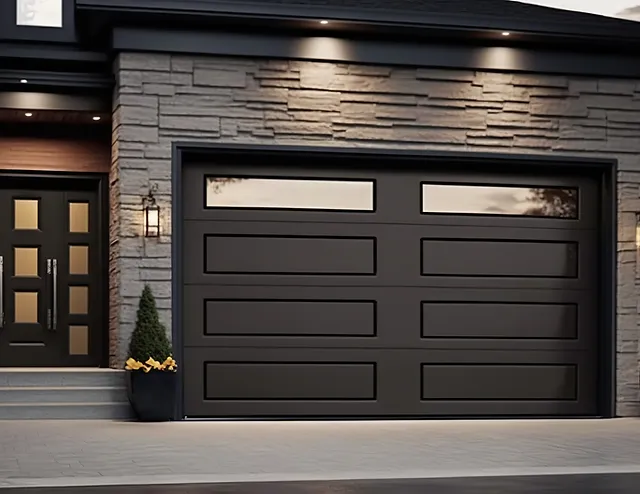
Garage Door Repair Anniston AL are essential components of any home, providing security, protection, and convenience for vehicles and belongings.

Over time, however, garage doors may sustain damage from various factors such as accidents, weather, or normal wear and tear. If your garage door has a damaged panel, you may wonder whether it’s possible to replace just one panel instead of the entire door. In this comprehensive guide, we’ll explore the feasibility of replacing a single panel on your garage door and alternative repair options to help restore your door’s functionality and appearance.

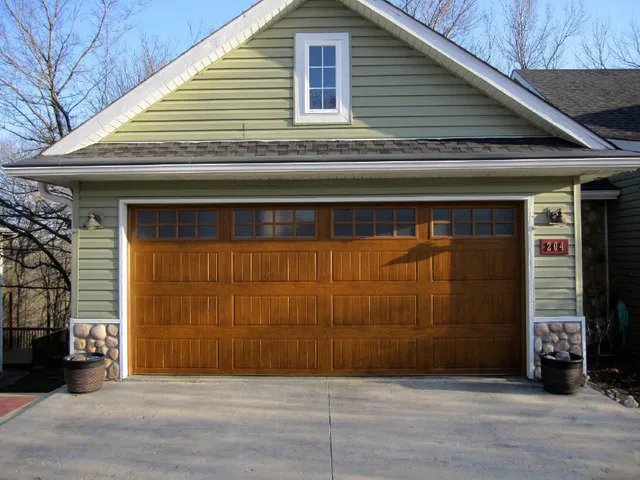
Understanding Garage Door Panels

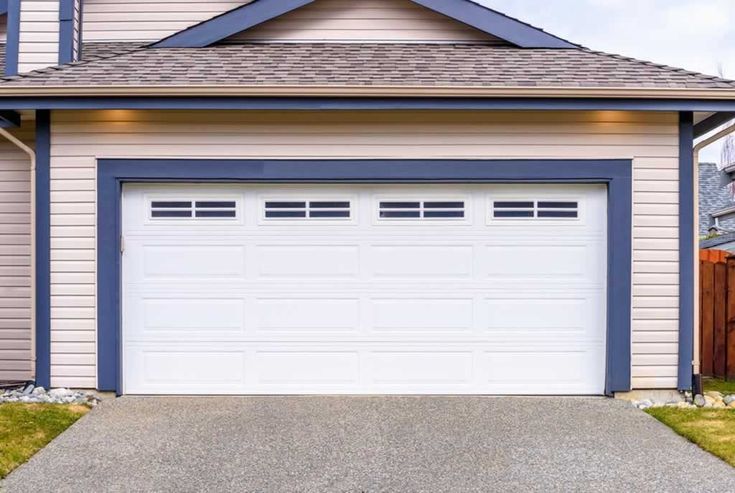
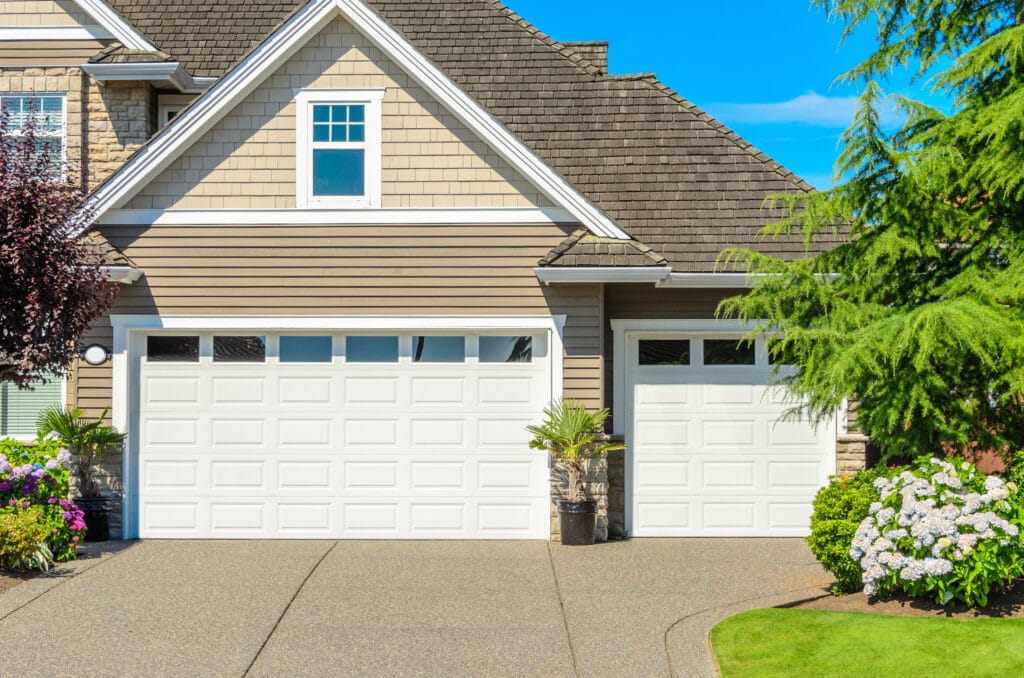
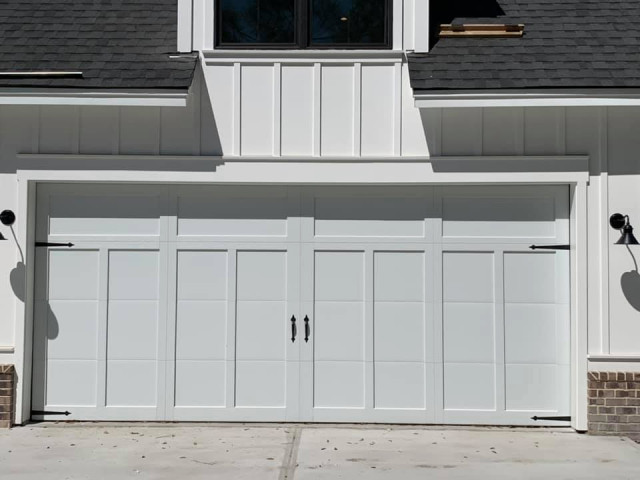
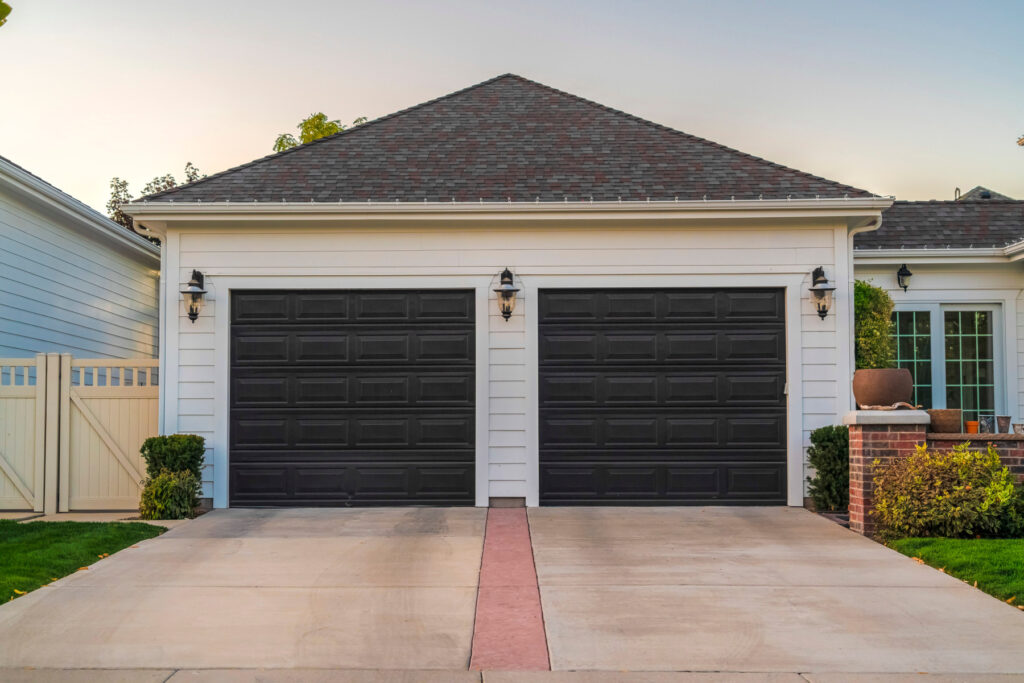
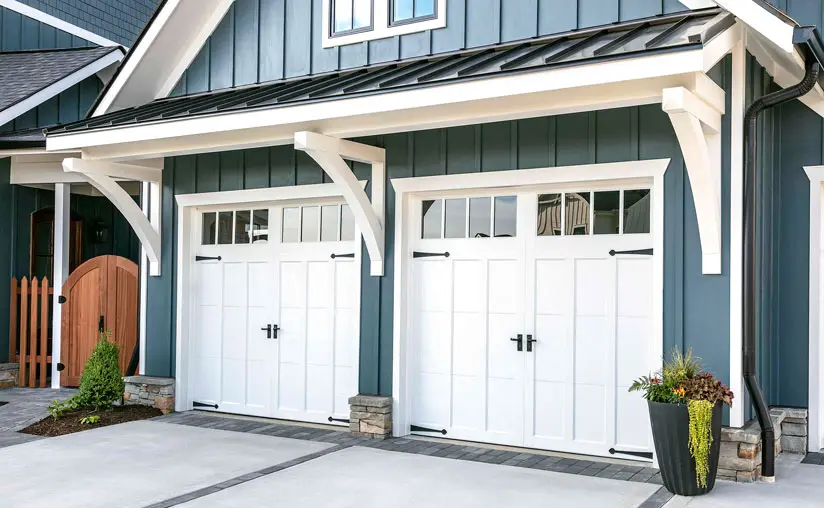
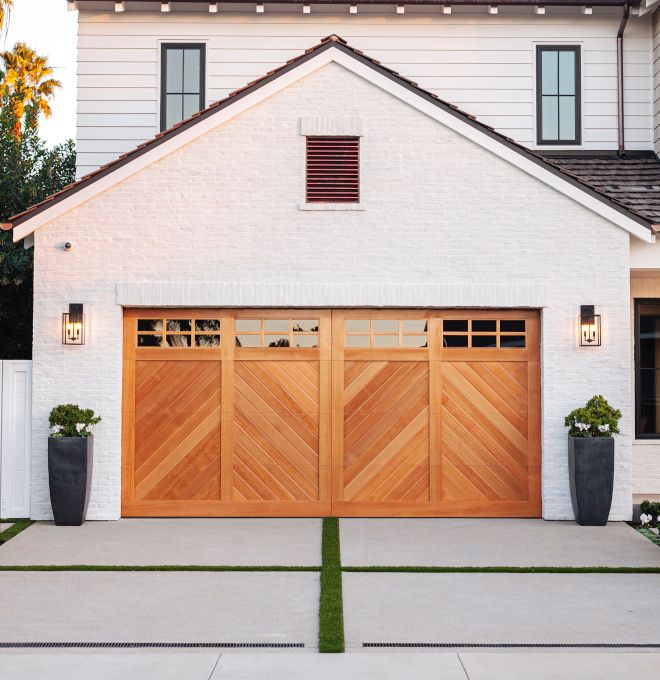
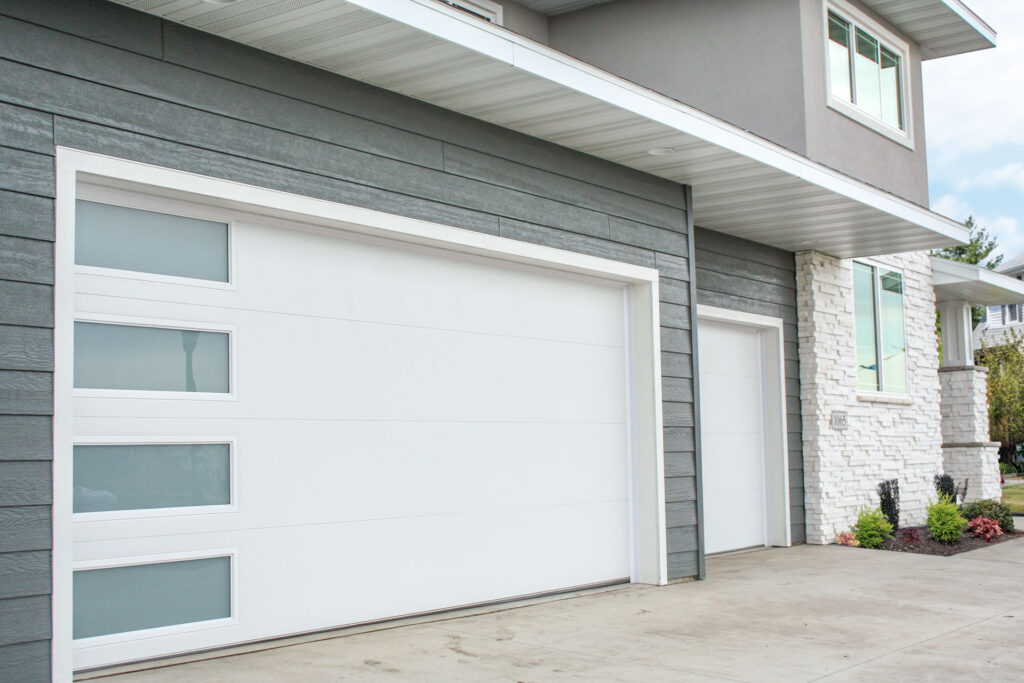
Garage doors are typically constructed from multiple panels joined together to form a cohesive unit. These panels are often made from materials such as steel, aluminum, wood, or fiberglass and are designed to withstand the rigors of daily use and exposure to the elements. When a garage door sustains damage to one or more panels, it can affect both the appearance and functionality of the door.

Is It Possible to Replace Just One Panel?

The short answer is yes, it’s possible to replace just one panel on your garage door. However, several factors will determine whether this option is feasible:

  1. Door Age and Model: The age and model of your garage door will influence the availability of replacement panels. If your door is relatively new or a common model, you may be able to find replacement panels that match your existing door seamlessly. However, if your door is older or a less common model, finding a compatible replacement panel may be more challenging.
  2. Panel Size and Configuration: Garage door panels come in various sizes and configurations, depending on the style and design of the door. It’s essential to ensure that any replacement panel you purchase matches the size, shape, and design of the existing panels to maintain a uniform appearance.
  3. Material and Finish: Matching the material and finish of the replacement panel to the existing panels is crucial for achieving a cohesive look. Whether your garage door is made from steel, aluminum, wood, or fiberglass, it’s essential to select a replacement panel that closely matches the material and finish of the original panels.
  4. Professional Installation: Replacing a garage door panel is a complex and labor-intensive process that requires specialized tools and expertise. It’s recommended to hire a professional garage door technician to assess the damage, source a compatible replacement panel, and install it correctly to ensure proper functionality and appearance.

Alternative Repair Options

If replacing a single panel on your garage door proves impractical or cost-prohibitive, there are several alternative repair options to consider:

  1. Panel Repair: In some cases, minor damage to a garage door panel can be repaired rather than replaced. Dent removal, panel straightening, and patching are common repair techniques used to restore damaged panels to their original condition.
  2. Overlay Kits: Overlay kits are decorative panels that are installed over the existing garage door panels to conceal damage or enhance the appearance of the door. These kits are available in a variety of materials and designs and can be an affordable and convenient solution for improving the look of your garage door without replacing the entire panel.
  3. Full Door Replacement: If your garage door is old, worn, or damaged beyond repair, you may consider replacing the entire door rather than just one panel. A new garage door can enhance the curb appeal of your home, improve energy efficiency, and provide added security and functionality.

Conclusion:

While it’s technically possible to replace just one panel on your garage door, several factors will determine whether this option is practical and cost-effective. Factors such as the age and model of your door, the availability of replacement panels, and the expertise of a professional installer will influence the outcome of the repair. If replacing a single panel proves impractical, alternative repair options such as panel repair, overlay kits, or full door replacement may provide viable solutions for restoring your garage door’s appearance and functionality.

Garage Door Solutionz

1016 Sandrock Rd. Anniston, AL 36207

1-256-954-0264

How To Fix Genie Garage Door Opener Remote – Team Taylor Garage Doors of Lee’s Summit

Garage Door Repair Lee’s Summit MO provide convenient access to your garage, allowing you to open and close the door with ease. However, if your Genie remote stops working or becomes unreliable, it can be frustrating and inconvenient.

There are several potential reasons why a Genie garage door opener remote may malfunction, including dead batteries, signal interference, or programming issues. In this guide, we’ll explore common issues with Genie garage door opener remotes and provide step-by-step instructions for troubleshooting and resolving them.

Understanding Genie Garage Door Opener Remotes

Genie garage door opener remotes transmit a signal to the opener motor, instructing it to open or close the door. Most Genie remotes operate on a specific frequency and use rolling code technology to prevent unauthorized access. When you press the button on the remote control, it sends a signal to the opener motor, triggering the door to move.

Common Issues with Genie Garage Door Opener Remotes

Several factors can cause a Genie garage door opener remote to malfunction or stop working altogether:

  1. Dead Batteries: The most common cause of remote control failure is dead or depleted batteries. If the batteries in your Genie remote are low or dead, the remote will be unable to transmit a signal to the opener motor.
  2. Signal Interference: Signal interference from other electronic devices or nearby radio frequencies can disrupt communication between the remote control and the opener motor, causing intermittent or unreliable operation.
  3. Programming Errors: If the remote control is not programmed correctly or becomes unpaired from the opener motor, it will be unable to operate the garage door.
  4. Physical Damage: Physical damage or wear and tear can cause the internal components of the Genie remote control to malfunction, preventing it from transmitting a signal effectively.

Steps to Fix a Genie Garage Door Opener Remote

1. Check the Batteries

Start by checking the batteries in the Genie remote control. Replace the batteries with fresh ones and test the remote to see if it begins working again. Make sure to use the correct type and size of batteries specified by the manufacturer.

2. Inspect for Damage

Inspect the Genie remote control for any signs of physical damage or wear and tear. Check for cracks, broken buttons, or loose components. If the remote control appears damaged, you may need to replace it with a new one.

3. Reprogram the Remote

If the batteries are not the issue, try reprogramming the Genie remote control to the opener motor. Consult the user manual for your Genie garage door opener for instructions on how to program the remote control. Follow the steps carefully to ensure proper programming.

4. Check for Signal Interference

Check for sources of signal interference in the vicinity of the garage door opener motor. Move any electronic devices, such as cordless phones or wireless routers, away from the opener motor to reduce interference. You may also consider installing a signal booster or changing the frequency of the remote control to minimize interference.

5. Test the Remote Control

Once you’ve addressed any potential issues, test the Genie remote control to see if it’s functioning correctly. Stand within range of the garage door opener motor and press the button on the remote control. The door should open or close smoothly without any hesitation or delay.

Conclusion:

A Genie garage door opener remote that fails to function properly can be a frustrating problem, but with the right approach, it’s often possible to diagnose and fix the issue yourself. By following the steps outlined in this guide, you can identify the cause of the problem and take the necessary steps to get your Genie garage door opener remote back in working order.

Team Taylor Garage Doors of Lee’s Summit

1012 NE Jib Ct STE D, Lee’s Summit, MO 64064, United States

1-816-239-2959

How Do I Program A Craftsman Garage Door Opener – Team Taylor Garage Doors of Lee’s Summit

Garage Door Repair Lee’s Summit MO are known for their reliability and convenience, providing homeowners with easy access to their garage spaces. Programming a Craftsman garage door opener is a straightforward process that can be completed in just a few simple steps.

In this comprehensive guide, we’ll walk you through the process of programming your Craftsman garage door opener, ensuring smooth operation and enhanced security for your home.

Gather Your Equipment Before you begin programming your Craftsman garage door opener, make sure you have all the necessary equipment at hand. You’ll need your Craftsman garage door opener, the owner’s manual for your opener model, and a ladder if necessary.

Identify Your Garage Door Opener Model The programming process for Craftsman garage door openers may vary depending on the model of your opener. Refer to the owner’s manual or locate the model number on the motor unit of your opener to ensure you have the correct instructions.

Access the Programming Button on the Opener Locate the “Learn” or “Program” button on the motor unit of your Craftsman garage door opener. This button is typically located near the antenna wire and may be labeled as “Learn,” “Program,” or something similar. Pressing this button will put the opener into programming mode, allowing it to receive signals from the remote.

Clear Existing Remote Codes (if necessary) If you are programming a new remote or reprogramming an existing one, it’s a good idea to clear any existing codes from the opener to prevent interference. To do this, press and hold the “Learn” or “Program” button on the opener until the indicator light turns off. This indicates that the existing codes have been cleared, and the opener is ready to receive new programming.

Program the Remote Now it’s time to program the Craftsman garage door opener remote to the opener. The exact steps may vary depending on the model of your opener, but the general process is as follows:

  1. Press and release the “Learn” or “Program” button on the garage door opener. The indicator light will illuminate, indicating that the opener is in programming mode.
  2. Within 30 seconds, press and hold the button on the remote that you wish to program. Hold the button until the indicator light on the opener flashes or blinks, indicating that the programming was successful.
  3. Release the button on the remote. The indicator light on the opener should stop flashing, indicating that the remote has been successfully programmed.

Test the Remote Once the remote has been programmed, it’s essential to test it to ensure that it’s working correctly. Stand within range of the opener and press the button on the remote. The garage door should open or close smoothly in response to the remote signal. If the door doesn’t respond, double-check the programming steps and try again.

Repeat for Additional Remotes (if necessary) If you have multiple Craftsman garage door remotes that you want to program to the opener, simply repeat the programming process for each remote. Each remote can be programmed separately using the same procedure outlined above.

Secure the Remote and Opener Once all remotes have been programmed and tested successfully, securely mount the remote(s) in your vehicle or keep them in a safe location. Additionally, ensure that the garage door opener is securely mounted and properly maintained to ensure continued smooth operation.

Conclusion:

Programming your Craftsman garage door opener is a simple process that can be completed in just a few steps. By following the instructions provided in this guide and referring to the owner’s manual for your specific opener model, you can easily set up or reprogram your remote for seamless operation of your garage door. With your remote programmed and ready to go, you can enjoy the convenience and security of accessing your garage with ease.

Team Taylor Garage Doors of Lee’s Summit

1012 NE Jib Ct STE D, Lee’s Summit, MO 64064, United States

1-816-239-2959

How Do I Identify My Genie Garage Door Opener – New Braunfels Garage Door Repair

Garage Door Repair New Braunfels TX is an important first step in troubleshooting issues, finding compatible replacement parts, or seeking assistance from customer support. Genie offers a wide range of garage door opener models, each with its own unique features and specifications.

By identifying your specific Genie garage door opener model, you can ensure that you have the information needed to address any problems or questions that may arise. In this comprehensive guide, we’ll explore various methods for identifying your Genie garage door opener, including examining the opener itself, checking the owner’s manual, and using online resources. By following these steps, you’ll be able to determine the model of your Genie garage door opener quickly and accurately.

1. Examine the Garage Door Opener

The most straightforward way to identify your Genie garage door opener is to examine the unit itself. The opener is typically mounted on the ceiling of your garage near the center of the door. Look for a label or sticker on the motor unit that contains important information about the opener, including the model number, serial number, and manufacturing date. This label is often located on the side or back of the motor unit and may be easily visible or hidden behind a cover. Take note of the model number and any other relevant information, as this will be essential for identifying your Genie garage door opener.

2. Check the Owner’s Manual

If you have the owner’s manual for your Genie garage door opener, you can often find detailed information about the model and specifications of the opener. The owner’s manual may include a section on product identification, which provides instructions on how to locate the model number and other identifying information on the opener itself. Refer to the table of contents or index to find the section on product identification, and follow the instructions provided to determine the model of your Genie garage door opener. If you don’t have the owner’s manual, you may be able to find a digital copy on the Genie website or by contacting Genie customer support.

3. Use Online Resources

If you’re unable to locate the model number on your Genie garage door opener or if you no longer have the owner’s manual, you can use online resources to identify your opener. The Genie website offers a variety of tools and resources for homeowners, including product support, troubleshooting guides, and product registration. Visit the Genie website and navigate to the product support section, where you’ll find options for identifying your garage door opener by model number, serial number, or other criteria. Enter any available information about your opener, such as the manufacturing date or features, and use the search function to find matching products. Review the search results to identify your Genie garage door opener model and access additional information and support resources.

4. Contact Genie Customer Support

If you’re still unable to identify your Genie garage door opener using the methods described above, you can contact Genie customer support for assistance. Genie’s customer support team is available to help homeowners with product identification, troubleshooting, and other inquiries related to Genie garage door openers. Visit the Genie website and navigate to the contact us section, where you’ll find options for reaching customer support by phone, email, or live chat. Provide any available information about your opener, such as the location of the motor unit, and describe any features or characteristics that may help identify the model. A customer support representative will assist you in identifying your Genie garage door opener and provide any additional information or support you may need.

Conclusion:

Identifying your Genie garage door opener is an essential step in troubleshooting issues, finding compatible replacement parts, or seeking assistance from customer support. By examining the opener itself, checking the owner’s manual, using online resources, or contacting Genie customer support, you can quickly and accurately determine the model of your Genie garage door opener. Once you have this information, you’ll be better equipped to address any problems or questions that may arise and ensure the continued functionality and reliability of your garage door opener.

New Braunfels Garage Door Repair

3702 i35 South Unit #112 New Braunfels TX 78132

1-830-387-9855

How To Attach A Garage Door Opener To The Door – Anna’s Best Garage & Overhead Doors

Garage Door Repair Anna TX to your garage door is a crucial step in automating the opening and closing process of your garage. A garage door opener provides convenience, security, and peace of mind by allowing you to operate the door with the push of a button.

In this comprehensive guide, we’ll walk you through the step-by-step process of attaching a garage door opener to your garage door, ensuring a safe and efficient installation.

Understanding Garage Door Openers

Garage door openers are motorized devices that operate the garage door’s movement. They typically consist of a motor, a rail system, and a trolley mechanism that connects to the door. The opener is controlled by a remote control or a wall-mounted switch, allowing you to open and close the garage door with ease.

Tools and Materials Needed

Before you begin attaching the garage door opener to your garage door, gather the following tools and materials:

  • Garage door opener kit (including motor, rail system, and trolley)
  • Power drill
  • Screwdriver
  • Measuring tape
  • Level
  • Ladder
  • Safety goggles

Having these tools and materials on hand will ensure a smooth installation process.

Step-by-Step Installation Guide

Follow these step-by-step instructions to attach a garage door opener to your garage door effectively:

1. Read the Instructions

Before you begin installation, carefully read the manufacturer’s instructions included with your garage door opener kit. Familiarize yourself with the components and follow the specific installation steps provided by the manufacturer.

2. Determine Mounting Location

Locate the header above the garage door where you will mount the motor unit of the garage door opener. Ensure that there is enough clearance and space for the opener to operate properly.

3. Install Mounting Bracket

Use the power drill and screws provided to attach the mounting bracket securely to the header. Use a level to ensure that the bracket is straight and level.

4. Install Rail System

Assemble the rail system according to the manufacturer’s instructions. Attach the rail to the mounting bracket using the provided hardware. Ensure that the rail is level and properly aligned.

5. Attach Trolley to Door

Attach the trolley mechanism to the garage door following the manufacturer’s instructions. The trolley will connect the rail system to the garage door and allow for smooth operation.

6. Install Motor Unit

Mount the motor unit to the ceiling above the garage door, following the manufacturer’s instructions. Use the provided hardware to secure the motor unit in place. Ensure that the motor unit is level and aligned with the rail system.

7. Connect Rail to Motor Unit

Attach the rail to the motor unit according to the manufacturer’s instructions. Ensure that the rail is securely connected to the motor unit and that all connections are tight.

8. Test Operation

Once the garage door opener is installed, test its operation by opening and closing the garage door using the remote control or wall-mounted switch. Ensure that the door moves smoothly and that there are no obstructions or issues with the operation.

9. Adjust Settings

Adjust the settings on the garage door opener, such as the opening and closing force and travel limits, according to the manufacturer’s instructions. These settings ensure that the garage door operates safely and efficiently.

10. Secure Wiring

Secure any loose wiring or cables connected to the garage door opener to prevent them from becoming tangled or damaged. Use cable ties or clips to secure the wiring along the rail system or ceiling.

Conclusion:

Attaching a garage door opener to your garage door is a relatively straightforward process that can be completed with basic tools and careful attention to detail. By following the step-by-step guide outlined above and referring to the manufacturer’s instructions, you can ensure a safe and efficient installation of your garage door opener, providing you with convenience and security for years to come.

Anna’s Best Garage & Overhead Doors

1009 Mathew Dr, Anna, TX 75049, United States

1-469-224-1335

How Much Is A New Garage Door Opener Remote – MF Solutions

Garage Door Repair Niles IL provide homeowners with the convenience of operating their garage doors from a distance, whether inside their vehicles or from inside their homes.

As with any electronic device, the cost of a new garage door opener remote can vary depending on several factors. By understanding these factors, homeowners can make informed decisions when purchasing a replacement remote.

Factors Affecting Cost

Several factors influence the price of a new garage door opener remote:

1. Brand and Compatibility

Different garage door opener brands may have proprietary remotes that are specifically designed to work with their systems. Compatibility with a particular brand or model can affect the price of the remote. Universal remotes that work with multiple brands may also be available but could come at a higher cost.

2. Features and Technology

Basic garage door opener remotes typically offer standard features such as open, close, and stop buttons. However, more advanced remotes may come with additional features such as programmable buttons, keyless entry pads, or compatibility with smart home systems. These added features can increase the cost of the remote.

3. Range and Frequency

The range and frequency of the remote can impact its price. Remotes with longer operating ranges or those operating on less congested frequencies may be more expensive due to their enhanced performance and reliability.

4. Design and Build Quality

The design and build quality of the remote can also affect its price. Remotes with durable construction and ergonomic designs may cost more than basic models with plastic housings.

5. Packaging and Accessories

Some remotes may come packaged with additional accessories such as batteries, keychains, or mounting hardware. These extras can add value but may also contribute to a higher price tag.

Estimating Costs

To estimate the cost of a new garage door opener remote, consider the following factors:

  1. Identify Brand and Model: Determine the brand and model of your garage door opener to ensure compatibility with the remote you choose.
  2. Research Pricing: Research online or visit local retailers to compare prices for remotes compatible with your opener. Take note of any discounts, promotions, or bundled deals that may be available.
  3. Consider Features: Determine which features are essential for your needs and budget accordingly. Decide whether you prefer a basic remote or one with advanced features.
  4. Check Warranty and Return Policy: Review the warranty and return policy for the remote to ensure peace of mind in case of any issues or malfunctions.

Conclusion:

The cost of a new garage door opener remote can vary depending on factors such as brand, compatibility, features, range, design, and packaging. By understanding these factors and conducting thorough research, homeowners can find a remote that meets their needs and budget while providing the convenience and security they desire.

MF Solutions

1-224-434-1780

How Much Horsepower Do I Need For Garage Door Opener – El Paso Garage Door Repair

Selecting the right horsepower for your Garage Door Repair El Paso TX is crucial for smooth and efficient operation.

In this comprehensive guide, we’ll explore the factors influencing horsepower requirements, different horsepower options available, considerations for choosing the appropriate horsepower, and tips for optimizing your garage door opener’s performance.

Understanding Horsepower

Horsepower (HP) is a measure of the motor’s strength and ability to lift and lower the garage door effectively. Choosing the right horsepower ensures that your opener can handle the weight and size of your door without strain or malfunction.

Factors Influencing Horsepower Requirements

Several factors influence the amount of horsepower needed for a garage door opener:

1. Door Weight and Size:

  • Heavier and larger doors require more horsepower to operate smoothly. Wooden or solid steel doors typically weigh more than aluminum or fiberglass doors and may require higher horsepower.

2. Door Material:

  • The material of the garage door affects its weight and resistance, impacting horsepower requirements.

3. Usage Frequency:

  • The frequency of door operation, such as daily use or occasional use, influences horsepower needs. Higher horsepower is advisable for doors used frequently to prevent motor strain and prolong the opener’s lifespan.

4. Opener Mechanism:

  • The type of opener mechanism, such as chain drive, belt drive, or screw drive, may have different horsepower requirements based on their design and efficiency.

Different Horsepower Options Available

Garage door openers typically come in three main horsepower options:

1. 1/3 HP:

  • Suitable for lightweight single-car garage doors made of aluminum or fiberglass.
  • Ideal for occasional use or smaller doors with minimal weight.

2. 1/2 HP:

  • Versatile option suitable for standard single or double-car garage doors.
  • Provides sufficient power for most residential applications, including moderate use.

3. 3/4 HP or Higher:

  • Recommended for heavier or larger doors, such as wooden or solid steel doors.
  • Ideal for frequent use or commercial applications where durability and strength are essential.

Considerations for Choosing the Appropriate Horsepower

When selecting the horsepower for your garage door opener, consider the following factors:

1. Door Size and Weight:

  • Determine the weight and size of your garage door to assess the horsepower needed for smooth operation.

2. Usage Patterns:

  • Evaluate how often the garage door will be used and whether it requires constant lifting and lowering throughout the day.

3. Climate and Environment:

  • Consider environmental factors such as extreme temperatures or high humidity, which may affect the opener’s performance and horsepower requirements.

4. Future Upgrades:

  • Anticipate any future upgrades or changes to your garage door, such as insulation or additional panels, which may increase its weight and affect horsepower needs.

Tips for Optimizing Performance

To ensure optimal performance and longevity of your garage door opener, consider the following tips:

1. Professional Installation:

  • Have your garage door opener installed by a professional to ensure proper setup and calibration for optimal performance.

2. Regular Maintenance:

  • Perform routine maintenance tasks, such as lubricating moving parts and checking for loose hardware, to keep your opener running smoothly.

3. Upgrade as Needed:

  • If you notice signs of strain or difficulty in lifting the door, consider upgrading to a higher horsepower opener to prevent motor damage and ensure safe operation.

4. Consult with Experts:

  • Seek advice from garage door professionals or technicians to determine the most suitable horsepower for your specific door and usage requirements.

Conclusion:

Choosing the appropriate horsepower for your garage door opener is essential for efficient and reliable operation. By considering factors such as door size, weight, usage patterns, and environmental conditions, you can select the right horsepower to meet your needs and ensure smooth functionality of your garage door opener for years to come.

El Paso Garage Door Repair

11394 James Watt Dr #603, El Paso, TX 79936, United States

1-915-201-3339

How To Install A Sears Garage Door Opener – Southern Home Creations Garage Doors & Openers

Garage Door Repair Suwanee GA is a manageable DIY project that can enhance the security and convenience of your home.

Whether you’re replacing an old opener or installing a new one, proper installation is essential for optimal performance and safety. In this comprehensive guide, we’ll walk you through the steps to install a Sears garage door opener safely and effectively.

Understanding Sears Garage Door Openers

Before starting the installation process, it’s essential to familiarize yourself with the components and operation of your Sears garage door opener.

Types of Sears Garage Door Openers

Sears offers a range of garage door opener models, including chain-drive, belt-drive, and screw-drive options. Each type operates using a different mechanism, but the installation process is similar for all models.

Pre-Installation Considerations

Before installing your Sears garage door opener, there are several factors to consider to ensure a successful installation process.

Assessing Compatibility

Ensure that the new Sears garage door opener is compatible with your existing garage door system, including the size and weight of the door, as well as any existing hardware and accessories.

Checking Clearance and Space

Measure the available clearance above the garage door to ensure that there is enough space to install the opener and accommodate the rail and motor unit.

Gathering Tools and Materials

Gather all necessary tools and materials for the installation, including a power drill, wrenches, screwdrivers, level, measuring tape, and safety equipment.

Step-by-Step Installation Guide

Follow these step-by-step instructions to install your Sears garage door opener safely and efficiently.

1. Unpack and Inspect the Opener

Carefully unpack the contents of the Sears garage door opener kit and inspect all components for any damage or missing parts.

2. Install the Rail and Trolley Assembly

  • Attach the rail to the motor unit using the provided hardware, ensuring that it is aligned and securely fastened.
  • Install the trolley assembly onto the rail according to the manufacturer’s instructions, making sure it moves freely along the rail.

3. Mount the Motor Unit

  • Position the motor unit on the ceiling of the garage, ensuring that it is centered above the garage door and aligned with the rail.
  • Secure the motor unit to the ceiling using sturdy mounting brackets and hardware, making sure it is level and stable.

4. Install the Drive System

  • Connect the drive system components, such as the drive chain or belt, to the motor unit and trolley assembly, following the manufacturer’s instructions.
  • Adjust the tension of the drive system as needed to ensure smooth and balanced operation.

5. Attach the Garage Door Bracket

  • Install the garage door bracket to the top section of the garage door, ensuring that it is securely fastened and aligned with the trolley assembly.

6. Connect the Power and Control Wires

  • Connect the power cord and control wires from the motor unit to the electrical outlet and control panel, following the wiring diagram provided in the installation manual.

7. Program the Opener

  • Follow the manufacturer’s instructions to program the remote controls and keypad, as well as set the travel limits and force settings for the opener.

8. Test the Operation

  • Manually open and close the garage door several times to ensure that the opener operates smoothly and effectively.
  • Make any necessary adjustments to the travel limits, force settings, and alignment as needed.

9. Secure and Finish Installation

  • Secure all hardware and components to prevent them from coming loose during operation.
  • Install any additional accessories, such as safety sensors or battery backup systems, according to the manufacturer’s instructions.

Safety Precautions

  • Always disconnect the power to the garage door opener before starting the installation process to prevent electrical shocks or accidents.
  • Use caution when working with heavy components and moving parts to avoid injury.
  • Follow all safety guidelines and instructions provided by the manufacturer throughout the installation process.

Conclusion:

By following these step-by-step instructions and taking necessary safety precautions, you can successfully install your Sears garage door opener and enjoy the convenience and security it provides. If you encounter any difficulties during the installation process, consult the manufacturer’s instructions or seek professional assistance to ensure a safe and efficient installation.

Southern Home Creations Garage Doors & Openers

4110 Tench Rd Suite D, Suwanee, GA 30024, United States

1-770-831-0301

Can You Program A Garage Door Opener From Another Remote – Camco Commercial Door Company

This process, commonly referred to as “remote cloning” or “remote syncing,” allows you to synchronize multiple remotes to control the same Garage Door Repair Knoxville TN.

However, the specific steps and compatibility requirements may vary depending on the make and model of the garage door opener and the remote control. Let’s explore in more detail how to program a garage door opener from another remote:

1. Check Compatibility: Before attempting to program a garage door opener from another remote, it’s crucial to ensure that both remotes are compatible with the garage door opener and designed to work together. Check the manufacturer’s instructions or specifications to confirm compatibility between the two devices.

2. Determine Programming Method: Garage door openers typically offer various methods for programming additional remotes, such as using a “learn” button on the opener motor unit or entering a specific code sequence. Determine the programming method supported by your garage door opener and refer to the manufacturer’s instructions for detailed steps.

3. Locate the “Learn” Button: If your garage door opener features a “learn” button, you’ll need to locate this button on the motor unit of the opener. The “learn” button is usually located near the antenna wire and may be labeled as such or identified by a specific color (e.g., red, purple).

4. Activate Programming Mode: To program the garage door opener from another remote, you’ll need to activate programming mode on the opener. This typically involves pressing and releasing the “learn” button, which triggers the opener to enter programming mode and await synchronization with a new remote.

5. Press the Button on the Other Remote: Once the garage door opener is in programming mode, press the desired button on the other remote that you want to program. Hold the button down for a few seconds until the indicator light on the opener flashes or blinks, indicating that the programming was successful.

6. Test the New Remote: After programming the new remote, test its functionality by pressing the programmed button to open or close the garage door. Ensure that the remote operates the door as expected and that the door responds smoothly without any issues.

7. Repeat if Necessary: If you have multiple remotes that you want to program to the same garage door opener, repeat the programming process for each additional remote. Follow the same steps outlined above, ensuring that each remote is successfully programmed before proceeding to the next one.

8. Secure Programming Mode: Once all desired remotes have been programmed, secure programming mode on the garage door opener to prevent unauthorized access or accidental reprogramming. This may involve pressing the “learn” button again or following specific instructions provided by the manufacturer.

9. Troubleshooting: If you encounter any issues or difficulties during the programming process, refer to the manufacturer’s instructions for troubleshooting tips and guidance. Common issues may include interference from nearby electronic devices, low battery power, or incorrect button sequences.

10. Conclusion:

In conclusion, programming a garage door opener from another remote is a convenient way to synchronize multiple remotes to control the same garage door opener. By following the manufacturer’s instructions and using the appropriate programming method, you can successfully program additional remotes to your garage door opener system. Ensure compatibility between the devices, activate programming mode on the opener, press the button on the other remote, and test the functionality to ensure successful programming. With proper programming, you can enjoy the convenience and flexibility of controlling your garage door from multiple remotes.

Camco Commercial Door Company

1-865-776-9455

How To Change A Code On A Garage Door Opener – Martin Garage Door

Changing the code on a Garage Door Repair Parker CO is a simple yet important security measure that helps protect your home and belongings.

Most modern garage door openers come with a keypad or remote control that allows you to set a unique access code. Changing the code periodically or after moving into a new home ensures that only authorized individuals can access your garage. Let’s explore the steps to change the code on a garage door opener in detail:

1. Locate the Learn Button: The first step is to locate the “Learn” or “Program” button on your garage door opener. This button is typically located on the motor unit of the opener, near the antenna wire. The exact location of the button may vary depending on the model and manufacturer of your garage door opener.

2. Clear Existing Codes (Optional): If you want to clear all existing codes before setting a new one, press and hold the “Learn” or “Program” button for about 10 seconds until the indicator light on the opener blinks or turns off. This clears all previously programmed codes from the opener’s memory.

3. Enter Programming Mode: To enter programming mode, press the “Learn” or “Program” button on the opener briefly. The indicator light on the opener will illuminate, indicating that the opener is ready to accept a new code.

4. Choose a New Code: Decide on a new access code that is easy for you to remember but difficult for others to guess. Avoid using common codes such as “1234” or “0000” for security reasons. Your new code should be between 4 and 8 digits long, depending on the capabilities of your garage door opener.

5. Program the New Code: Enter the new code on the keypad or remote control, followed by the “Enter” or “Send” button. The indicator light on the opener will blink or turn off to indicate that the new code has been successfully programmed.

6. Test the New Code: Test the new code by pressing the “Open” or “Close” button on the keypad or remote control. The garage door should open or close, indicating that the new code is working correctly. If the door does not respond, repeat the programming steps to ensure the code was entered correctly.

7. Exit Programming Mode: To exit programming mode, press the “Learn” or “Program” button on the opener again. The indicator light should turn off, indicating that the opener is no longer in programming mode.

8. Update Other Devices (Optional): If you have additional keypads or remote controls that were programmed with the old code, you will need to reprogram them with the new code. Follow the manufacturer’s instructions for each device to update the code.

9. Secure the Opener: After changing the code, ensure that the garage door opener is secure. Keep the remote controls and keypads in a safe place and do not share the code with unauthorized individuals.

10. Periodic Code Changes: For added security, consider changing the access code periodically, such as every few months. This helps prevent unauthorized access to your garage and home.

Conclusion: Changing the code on a Garage Door Repair Parker CO is a simple process that can enhance the security of your home. By following these steps and choosing a strong, unique access code, you can ensure that only authorized individuals have access to your garage. Regularly changing the code and keeping the opener secure helps protect your home and belongings from potential intruders. If you encounter any issues or difficulties while changing the code, refer to the manufacturer’s instructions or consult a professional garage door technician for assistance. With proper care and attention, your garage door opener can provide reliable and secure access to your garage for years to come.

Martin Garage Door

10411 S Parker Rd, Parker, CO 80134

1-303-663-1310

Page 3 of 25

Powered by WordPress & Theme by Anders Norén