The Largest Business Blog in Texas

Tag: Garage Door Repair North Richland Hills TX

Reasons Why You Shouldn’t Attempt DIY Garage Door Repairs – NRH’s Gates & Garage Doors

As a self-proclaimed DIY enthusiast, I’ve always been eager to roll up my sleeves and tackle home improvement projects. From painting rooms to fixing leaky faucets, I’ve felt a sense of accomplishment and empowerment in successfully completing these tasks. However, there’s one area where I learned the hard way that DIY is not always the best approach: garage door repairs.

By following Garage Door Repair North Richland Hills TX, I’ll share my personal journey and the compelling reasons why you shouldn’t attempt DIY garage door repairs.

The DIY Spirit

The do-it-yourself spirit has many merits. It encourages self-reliance, saves money, and provides a strong sense of achievement. In my case, I often found myself drawn to DIY projects as a way to learn new skills and enhance my understanding of home maintenance. However, I learned that not all projects are created equal, and when it comes to garage door repairs, the DIY approach can be risky and even dangerous.

The Complexity of Garage Doors

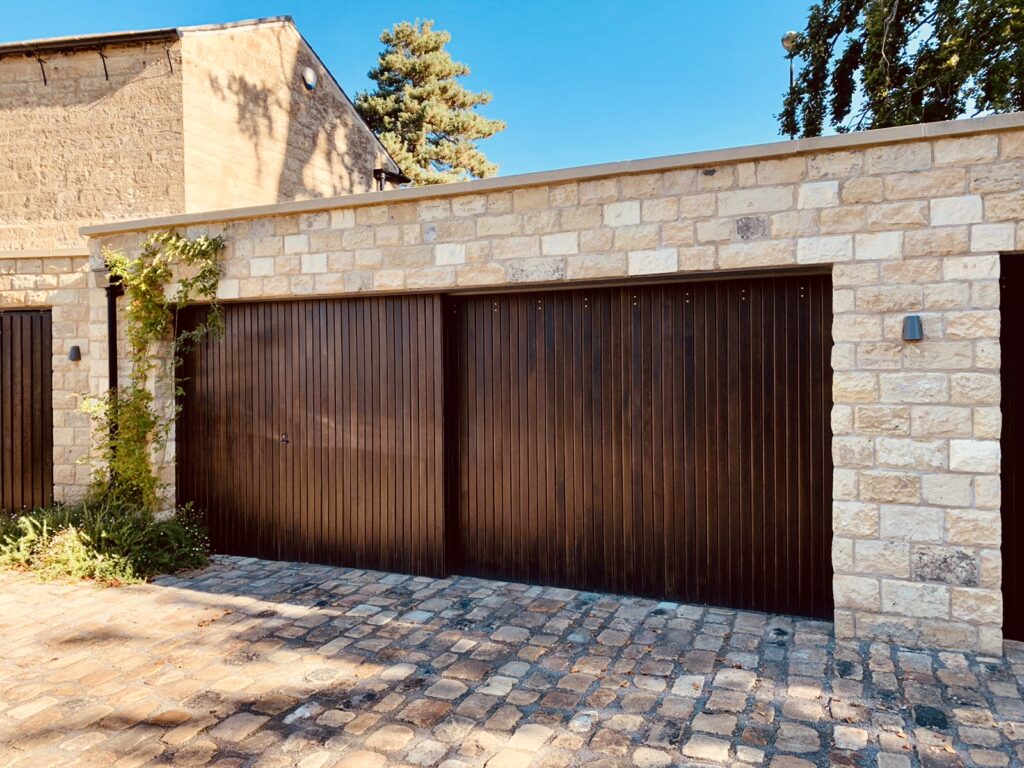
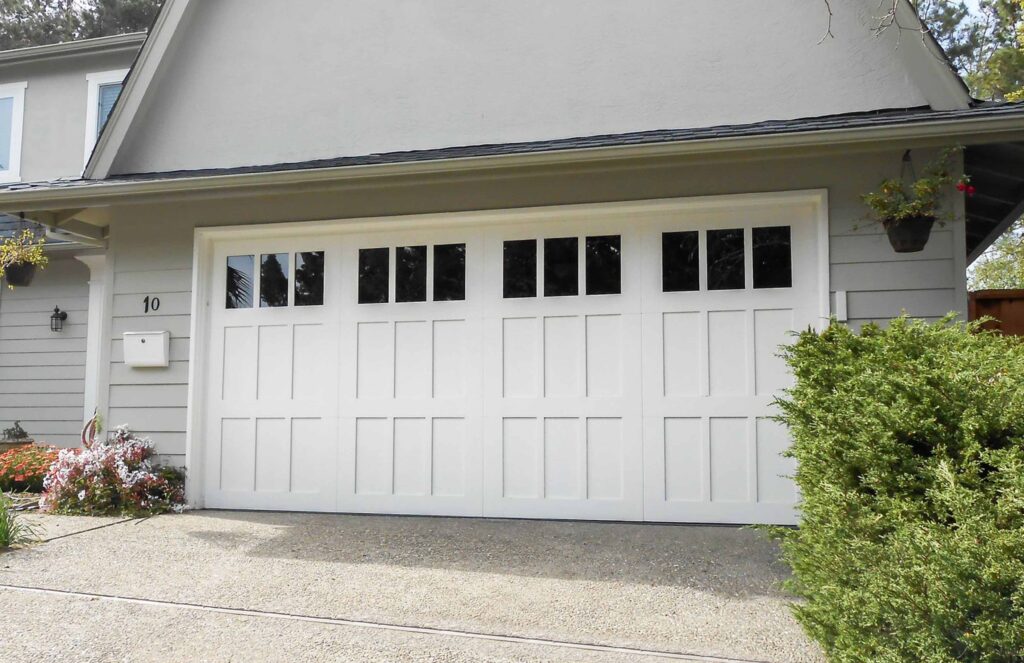
Garage doors are deceptively complex systems. They consist of multiple components, including springs, cables, tracks, rollers, and an electric opener, each with its own specific function. Attempting to repair or replace these components without the necessary knowledge and experience can lead to a host of problems.

My first encounter with DIY garage door repair involved a minor issue with the door’s tracks. The door was making a loud, grinding noise when opening and closing. I thought, “How hard could it be to fix a couple of tracks?” Armed with some basic tools and a DIY spirit, I dove into the task.

The Perils of DIY Garage Door Repairs

  1. Safety Hazards: Garage doors are heavy, and they operate with the help of high-tension springs that store a significant amount of energy. Attempting to repair or replace these springs without the proper tools and knowledge can result in accidents and severe injuries. I was fortunate enough to realize the risks before attempting any spring-related repairs.
  2. Complicated Components: Garage doors consist of intricate components that require precise adjustments and alignments for smooth and safe operation. Small mistakes during DIY repairs can lead to larger, more expensive issues. In my case, my DIY track repair led to a misalignment problem, causing the door to malfunction even more.
  3. Lack of Tools and Equipment: Garage door repairs often require specialized tools and equipment that most DIYers don’t have on hand. Professional technicians arrive with the right tools, ensuring that the job is done correctly. My DIY attempt at track repair was far from perfect, resulting in more problems than solutions.
  4. Incorrect Diagnosis: Properly diagnosing the root cause of a garage door issue can be challenging for someone without experience. What may seem like a simple problem on the surface might have underlying issues that require professional attention. My initial assumption that the tracks were the only problem turned out to be incorrect.
  5. Voiding Warranties: Many garage doors and their components come with manufacturer warranties. Attempting DIY repairs can void these warranties, leaving you responsible for any future issues. I didn’t consider this factor until it was too late.

The Professional Solution

After my DIY attempt went awry, I realized that professional help was necessary. I contacted a reputable garage door repair service, and the difference was astounding. The technician arrived with the right tools, knowledge, and experience, making the entire repair process look effortless.

The technician quickly diagnosed the issue, which was more than just a problem with the tracks. It turned out that the door’s rollers and cables also needed attention. I watched in amazement as the professional effortlessly disassembled the necessary components, replaced the damaged parts, and reassembled everything with precision. The result was a garage door that operated more smoothly and quietly than it had in years.

The Value of Professional Expertise

My experience with professional garage door repair taught me some invaluable lessons:

  1. Safety Comes First: The safety of you and your family should always be the top priority. Garage doors are heavy, and their components can be hazardous if mishandled. Professionals are trained to handle these situations safely.
  2. Cost-Effective: While DIY repairs may seem like a cost-saving option, they can actually lead to more significant problems and increased expenses in the long run. Professional repairs are cost-effective and ensure the job is done right the first time.
  3. Time-Saving: DIY repairs can be time-consuming, especially if you’re not familiar with the components. Professionals can complete the job quickly, minimizing disruptions to your daily routine.
  4. Preserving Warranties: Professional repairs often preserve any existing warranties on your garage door and its components. This can save you money in the long term.
  5. Peace of Mind: Knowing that your garage door has been repaired correctly by experts provides peace of mind and reduces the stress of potential future issues.

Conclusion

My journey through DIY garage door repairs was a humbling experience. I learned that not all home improvement projects are suited for the DIY approach, especially when it comes to garage doors. Safety, complex components, lack of tools and equipment, the risk of incorrect diagnosis, and the potential for voiding warranties are all compelling reasons to avoid DIY garage door repairs.

Overall, as per Garage Door Repair North Richland Hills TX, the value of professional expertise cannot be overstated. Professional technicians have the training, experience, and tools needed to diagnose and repair garage door issues efficiently and safely. When it comes to your garage door, don’t let the DIY spirit lead you astray; choose professional help for the best results and lasting peace of mind.

NRH’s Gates & Garage Doors

7048 Ridge Crest Dr, North Richland Hills, TX 76182, United States

817-533-4913

How To Install Garage Door Stop- NRH’s Gates & Garage Doors

Installing a Garage Door Repair North Richland Hills TX is a relatively straightforward process that can be done by most homeowners with basic DIY skills and tools.

A garage door stop, also known as weather stripping or a door seal, helps to seal gaps and prevent drafts, insects, and moisture from entering your garage. Here’s a step-by-step guide with detailed instructions in:

Tools and Materials You’ll Need:

  • Garage door stop kit
  • Measuring tape
  • Hacksaw or utility knife
  • Screwdriver
  • Drill with appropriate bits
  • Screws
  • Hammer
  • Caulk gun and silicone caulk (optional)
  • Safety glasses and gloves

: Gather Your Materials

Before you begin, make sure you have all the necessary materials and tools listed above. It’s essential to have everything ready to ensure a smooth installation process.

: Measure Your Garage Door

Measure the width of your garage door. You’ll need this measurement to cut the door stop to the correct length. Start at one side of the door frame and measure all the way to the other side, ensuring your tape measure is level for accuracy. Write down this measurement.

: Purchase the Garage Door Stop Kit

Go to your local home improvement store or shop online for a garage door stop kit that matches the width of your garage door. These kits typically include the door stop material, screws, and sometimes adhesive.

: Prepare the Door Stop Material

If the door stop kit doesn’t come pre-cut to the correct length, use a hacksaw or utility knife to cut it to the width of your garage door, following the measurement you took earlier. Be sure to wear safety glasses and gloves while cutting.

: Clean the Garage Door Frame

Before attaching the door stop, clean the garage door frame thoroughly. Remove any dirt, dust, or debris, and ensure the surface is dry.

: Position the Door Stop

Hold the cut garage door stop against the top of the door frame, making sure it’s flush with the frame’s edge. You may need a helper to hold it in place while you proceed with the installation.

: Mark Screw Hole Locations

Using a pencil or a marker, mark the locations of the screw holes on the garage door frame through the holes in the door stop. Typically, you’ll want to place screws every 6 to 12 inches along the length of the door stop for a secure fit.

: Pre-drill Screw Holes

Remove the door stop and use a drill with an appropriate bit to pre-drill holes at the marked locations on the garage door frame. Pre-drilling helps prevent the wood from splitting when you insert the screws.

: Attach the Door Stop

Place the door stop back in position and align it with the pre-drilled holes. Using your screwdriver, attach the door stop to the frame by driving screws through the holes and into the frame. Make sure it’s securely fastened.

: Repeat for the Sides and Bottom

Repeat steps 6 to 9 for the sides and bottom of the garage door frame. Measure and cut the door stop material as needed for these sections and attach them using the same process.

: Seal the Gaps (Optional)

If there are any remaining gaps between the door stop and the garage door frame, you can use a caulk gun to apply silicone caulk to seal them. This step helps improve the weatherproofing of your garage.

: Test the Garage Door

Open and close the garage door a few times to ensure that it operates smoothly without any interference from the newly installed door stop.

: Clean Up

Dispose of any waste materials, clean your tools, and tidy up the work area.

Congratulations! You’ve successfully installed a Garage Door Repair North Richland Hills TX that will help keep your garage insulated from the elements and free from pests. This relatively simple DIY project can make a significant difference in the comfort and energy efficiency of your home.

NRH’s Gates & Garage Doors

7048 Ridge Crest Dr, North Richland Hills, TX 76182, United States

1-817-533-4913

How To Connect New Garage Door Opener – Tarrant County Door & Gate

Installing a new Garage Door Repair North Richland Hills TX opener may seem like a daunting task, but with the right approach and some basic tools, you can successfully complete the job.

This step-by-step guide will walk you through the process of connecting a new garage door opener. Remember to always refer to your manufacturer’s instructions as they may have specific guidelines for your model. With safety as a top priority, let’s get started!

  1. Gather the necessary tools: Before you begin, gather the following tools:
  • New garage door opener and its components
  • Screwdriver (flathead and Phillips)
  • Adjustable wrench
  • Drill and drill bits
  • Ladder
  • Safety goggles
  • Tape measure
  • Pencil or marker
  1. Read the manufacturer’s instructions: Carefully read and understand the installation manual provided by the garage door opener manufacturer. The manual will contain crucial information about your specific model, such as safety precautions and recommended installation procedures.
  2. Prepare the garage door: Make sure your garage door is properly balanced and in good working condition. Check for any signs of wear and tear on the door and its parts, such as springs and cables. If you notice any issues, address them before proceeding.
  3. Turn off power and disconnect the old opener (if applicable): If you’re replacing an existing garage door opener, turn off the power to the unit at the circuit breaker. Then, disconnect the old opener from the ceiling mounting and door hardware, carefully removing any electrical connections.
  4. Assemble the new opener: Follow the manufacturer’s instructions to assemble the new garage door opener. This typically involves attaching the rail and motor to the chassis. Use the provided hardware and ensure all connections are secure.
  5. Position the opener: Position the opener on the ceiling or wall, ensuring it is centered above the garage door and aligning with the door’s track. Use a pencil or marker to mark the locations of the mounting holes on the ceiling or wall.
  6. Install the mounting brackets: Attach the mounting brackets to the ceiling or wall using appropriate screws and anchors, depending on your garage’s construction. Ensure the brackets are level and securely fixed to provide a stable base for the opener.
  7. Attach the rail and motor: With the help of an assistant or a ladder, attach the rail to the garage door opener and secure it to the mounting brackets. Ensure the rail is level and aligned with the center of the garage door.
  8. Install the trolley and chain/belt: Follow the manufacturer’s instructions to install the trolley on the rail and attach the chain or belt to the trolley and motor. Adjust the tension of the chain/belt according to the instructions.
  9. Connect the safety sensors: Garage door openers come with safety sensors to prevent the door from closing if an object is in the way. Install the sensors on either side of the door, about 6 inches above the ground. Align the sensors and connect the wires to the motor unit.
  10. Electrical connections: Follow the manufacturer’s instructions to make the electrical connections between the opener and your electrical supply. This typically involves connecting wires to the motor unit and the wall-mounted control panel.
  11. Program the opener: Most modern garage door openers come with programming capabilities. Follow the instructions in the manual to program the remote control and set up any additional features, such as Wi-Fi connectivity or smart home integration.
  12. Test the opener: Before using the opener regularly, perform a series of tests to ensure everything is working correctly. Check the movement of the door, the safety sensors, and the responsiveness of the remote control.

Conclusion:

Connecting a new Garage Door Repair North Richland Hills TX opener is a rewarding DIY project that enhances the convenience and security of your home. By following these steps and the manufacturer’s instructions, you can confidently install your new garage door opener and enjoy the benefits it brings. Remember to prioritize safety throughout the process and seek professional assistance if you encounter any difficulties. Now, enjoy the convenience of opening and closing your garage door with just a click of a button!

Tarrant County Door & Gate

6408 Marlette Ct, North Richland Hills, TX 76182, Estados Unidos

817-456-2958

How To Open Garage Door During Power Outage – Tarrant County Door & Gate

Experiencing a power outage can be inconvenient, especially when you need to access your garage. Opening a Garage Door Repair North Richland Hills TX requires manual intervention, and it’s essential to follow specific steps to ensure safety and efficiency.

In this comprehensive guide, we’ll explore various methods to open a garage door during a power outage, covering both automatic and manual garage door types.

1. Identify the Garage Door Type: Before attempting to open the garage door during a power outage, determine whether you have a manual or automatic garage door. Automatic garage doors are commonly equipped with an electric opener, while manual doors rely on physical effort for operation.

For Automatic Garage Doors:

2. Locate the Emergency Release Cord: Automatic garage doors are equipped with an emergency release cord, usually located near the opener motor. The release cord disengages the door from the automatic opener, allowing for manual operation.

3. Pull the Emergency Release Cord: To open the garage door manually, pull the emergency release cord downward and away from the garage door opener. This action disconnects the door from the motor, enabling you to lift it manually.

4. Lift the Garage Door: With the emergency release engaged, lift the garage door manually by gripping the handle or the bottom edge of the door. Use steady and controlled force to lift the door, taking care not to strain yourself.

5. Secure the Door in the Open Position: Once the garage door is fully open, secure it in place using a locking mechanism if available. Some garage doors have manual locks on the inside that can be engaged to prevent unauthorized access.

For Manual Garage Doors:

6. Unlock and Lift: Manual garage doors typically have a locking mechanism that secures the door in place. Unlock the door using the provided key and lift it manually by grasping the handle or the bottom edge.

7. Secure the Door: Similar to automatic doors, manual doors should be secured in the open position using any available locks. This enhances security and prevents the door from accidentally closing.

General Tips for Opening Garage Doors During Power Outages:

8. Use Caution: When manually operating the garage door, exercise caution to avoid injury. Garage doors can be heavy, so lift with proper body mechanics and enlist assistance if needed.

9. Be Mindful of Security: During a power outage, it’s crucial to maintain security. Avoid leaving the garage door open for an extended period, especially if it’s not within your line of sight. Secure the door promptly after use.

10. Keep Emergency Supplies Handy: Store a flashlight or portable light source in an easily accessible location in the garage. This will be helpful during power outages, ensuring visibility while operating the garage door manually.

11. Perform Regular Maintenance: To facilitate smooth manual operation during power outages, perform regular maintenance on your garage door. Lubricate hinges, rollers, and other moving parts to reduce friction.

12. Consider Backup Power Sources: Explore the option of installing a backup power source, such as a generator or a battery backup system for the garage door opener. These systems can provide temporary power during outages.

13. Consult the Garage Door Manual: Refer to the manufacturer’s manual for your specific garage door and opener. It may contain model-specific instructions and safety guidelines for manual operation during power outages.

Conclusion:

Opening a Garage Door Repair North Richland Hills TX requires a combination of understanding the door type, locating emergency release mechanisms, and exercising caution during manual operation. By following these steps and incorporating safety measures, you can navigate power outages with confidence and efficiently access your garage.

Tarrant County Door & Gate

1-817-456-2958

How Much do Garage Door Openers Cost-North Richland hills Best Garage & Overhead Doors

Garage Door Repair North Richland Hills TX openers are essential devices that provide convenience, security, and ease of access to our homes. Whether you’re looking to replace an old opener or install a new one, understanding the cost factors involved is crucial.

In this guide, we will explore the various types of garage door openers available in the market and discuss their costs, helping you make an informed decision.

  1. Types of Garage Door Openers: There are three primary types of garage door openers: a) Chain-Drive Openers: These are the most common and economical options. They use a metal chain to lift and lower the garage door. b) Belt-Drive Openers: These openers use a reinforced rubber belt to operate the door, offering quieter operation compared to chain-drive openers. c) Screw-Drive Openers: These openers utilize a threaded steel rod to move the garage door. They require less maintenance and are suitable for heavy doors.
  2. Cost Factors: Several factors influence the cost of garage door openers: a) Opener Type: Chain-drive openers are generally the least expensive, followed by belt-drive openers, with screw-drive openers being the most expensive. b) Horsepower (HP) Rating: The HP rating determines the opener’s lifting capacity. Higher HP ratings are typically more expensive. c) Additional Features: Openers with advanced features like battery backup, Wi-Fi connectivity, smart home integration, and security options tend to have higher price tags. d) Brand: Well-known and reputable brands often come with a higher price point due to their quality and reliability. e) Installation: The cost of professional installation should be considered if you’re not comfortable installing the opener yourself.
  3. Price Ranges: The price range for garage door openers can vary significantly based on the factors mentioned above. However, to provide a general idea: a) Chain-Drive Openers: These typically range from $150 to $300, depending on HP rating and additional features. b) Belt-Drive Openers: Expect to pay between $200 and $400 for belt-drive openers, with higher HP ratings and added features affecting the price. c) Screw-Drive Openers: These usually fall in the price range of $300 to $600, considering their durability and higher lifting capacity.
  4. Installation Costs: If you choose to hire a professional for installation, the cost will vary depending on your location and the complexity of the installation. On average, professional installation can add $150 to $300 to the overall cost. However, some retailers offer installation services as part of a package deal.
  5. DIY Installation: If you’re comfortable with DIY projects and have the necessary tools, you can save money by installing the garage door opener yourself. Manufacturers often provide detailed instructions, and there are numerous online tutorials available. However, keep in mind that improper installation can lead to safety hazards and potential damage to the opener or the door itself.
  6. Warranty Considerations: When purchasing a garage door opener, consider the warranty provided by the manufacturer. Higher-priced models often come with longer warranties, providing added peace of mind.

Conclusion: Garage Door Repair North Richland Hills TX opener prices vary depending on factors such as type, horsepower rating, additional features, and brand. While chain-drive openers are generally the most affordable, belt-drive and screw-drive openers offer quieter operation and increased durability, respectively. Remember to factor in installation costs if you’re not comfortable with DIY installation. By understanding the costs associated with garage door openers, you can make an informed decision that suits your needs and budget.

North Richland hills Best Garage & Overhead Doors

North Richland Hills, TX 76182

817-533-4913

How to Attach Foam Board to Garage Door – Tarrant County Door & Gate

Attaching foam board to my garage door was a project I undertook to improve insulation and create a more comfortable environment.

Here’s how I went about it according to Garage Door Repair:

First, I measured the dimensions of each panel on my garage door. Using a tape measure, I carefully noted down the length and width of each panel. This information helped me determine the size of foam board needed.

Next, I obtained foam board sheets from a local home improvement store. With my measurements in hand, I selected foam boards that matched the dimensions of each garage door panel. I made sure to choose foam board with a suitable thickness for optimal insulation.

With the foam board sheets ready, I prepared to attach them to the garage door panels. I started by cleaning the surface of each panel. Using a mild detergent mixed with water, I wiped away any dirt or debris, ensuring a clean and smooth surface for better adhesion.

Once the panels were clean and dry, I began cutting the foam board sheets. Following the measurements I had taken earlier, I marked the cutting lines on the foam board using a pencil or marker. With a utility knife or foam board cutter, I carefully cut along the marked lines to obtain foam board pieces for each panel.

After cutting the foam board, I applied adhesive to the back of each piece. I chose an adhesive recommended for foam board and followed the manufacturer’s instructions for proper application. Making sure to cover the entire back surface, I applied the adhesive evenly, ensuring good coverage.

With the adhesive applied, I positioned each foam board piece onto its corresponding garage door panel. Taking care to align the edges, I pressed firmly to ensure a strong bond between the foam board and the panel surface. I repeated this process for each panel, carefully attaching the foam board pieces one by one.

To provide additional support and prevent the foam board from shifting, I used adhesive tape or adhesive-backed fasteners along the edges of each foam board piece. This helped secure the foam board to the garage door panels and added extra stability.

Once all the foam board pieces were in place, I tested the garage door’s movement. I opened and closed the door several times, observing its operation and checking for any obstructions or signs of interference from the foam board. If necessary, I made slight adjustments to ensure smooth and unimpeded movement.

To enhance insulation further, I considered adding weatherstripping or foam tape along the edges of the foam board panels. This would create a tighter seal and prevent drafts or air leakage. I carefully applied the weatherstripping or foam tape around the edges, making sure to create a secure barrier.

Regular maintenance was important to ensure the foam board remained securely attached and in good condition. I periodically inspected the foam board installation, checking for any signs of damage or detachment. If any issues arose, I addressed them promptly to maintain the effectiveness of the insulation.

In summary, as per Garage Door Repair, by attaching foam board to my garage door, I was able to improve insulation and create a more comfortable space. The process required careful measurement, cutting, and adhesive application, but the results were well worth it. I enjoyed the benefits of a better-insulated garage, providing increased temperature control and reduced noise.

Tarrant County Door & Gate

6408 Marlette Court,North Richland Hills, TX

817-456-2958

Powered by WordPress & Theme by Anders Norén