Your Garage Door Repair is not just a functional element but a significant contributor to your home’s curb appeal and security. When the time comes for a replacement, understanding the costs involved is crucial.

In this comprehensive guide, we’ll unravel the mysteries behind the price tag of a replacement garage door, exploring the factors that influence the cost and helping you make an informed decision for your home.
Determining the Need for Replacement: Signs and Considerations
Before we delve into the costs, it’s essential to assess whether your garage door truly needs replacement. We’ll explore common signs of wear, damage, and inefficiency, guiding you through the considerations that warrant a replacement decision.
Signs of Wear and Damage: When It’s Time for a Change
From rust and visible damage to operational issues, various signs indicate that your garage door may be due for replacement. We’ll provide a comprehensive checklist, empowering you to evaluate the condition of your door and make an informed decision.
Upgrade Considerations: Beyond Necessity
Sometimes, the decision to replace a garage door goes beyond necessity. We’ll discuss considerations for upgrades, exploring how factors like enhanced security features, smart technology, and energy efficiency can influence your decision and overall budget.
Factors Influencing the Cost: Breaking Down the Numbers
The cost of a replacement garage door is influenced by multiple factors, each playing a role in the overall price tag. We’ll break down these factors, providing insights into how they contribute to the final cost.
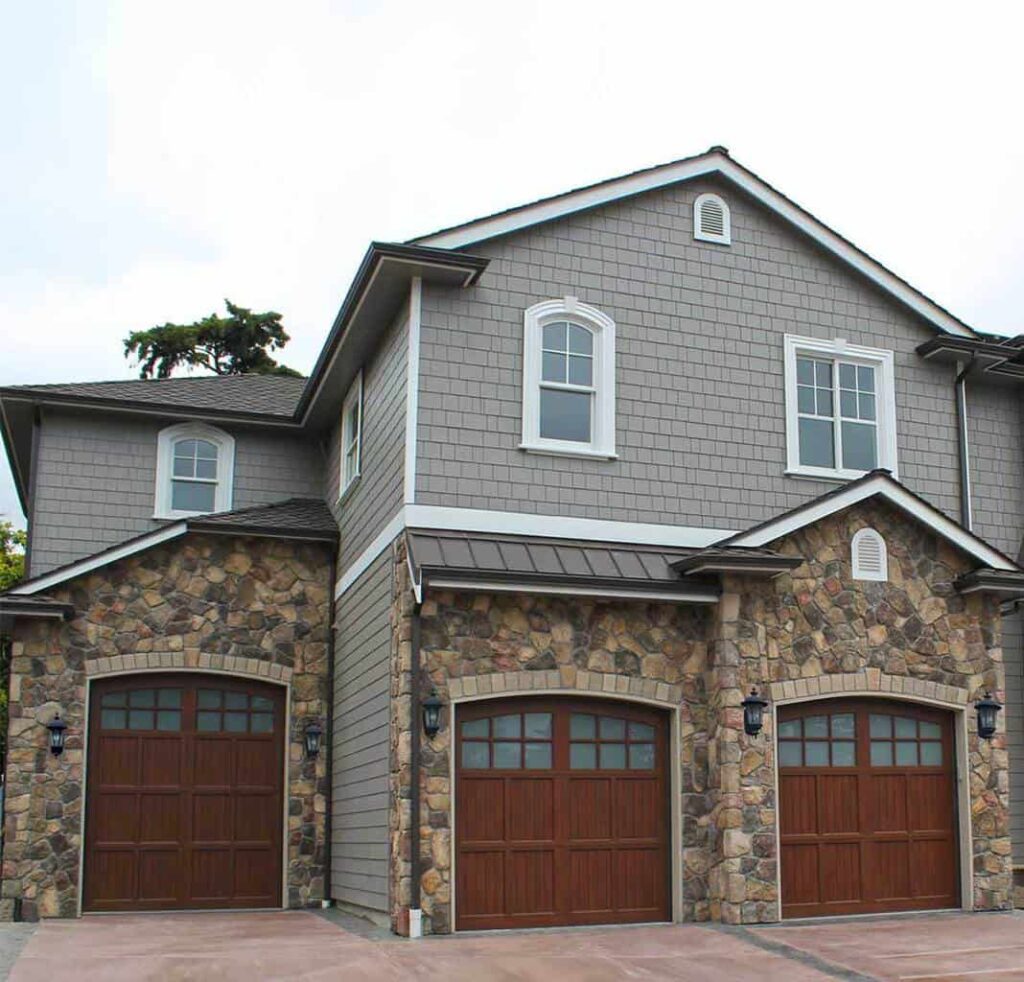
Material Matters: Wood, Steel, Aluminum, and More
The material of your new garage door is a significant determinant of cost. We’ll explore the characteristics, pros, and cons of popular materials such as wood, steel, aluminum, and fiberglass, helping you make an informed decision that aligns with your preferences and budget.
Size and Style: Customization Considerations
The size and style of your garage door also impact the overall cost. We’ll discuss standard sizes versus custom options, exploring how design choices can influence the final price tag and contribute to the uniqueness of your replacement door.
Insulation Options: Balancing Comfort and Budget
Insulated garage doors offer benefits such as energy efficiency and temperature regulation. We’ll delve into insulation options, discussing how they impact the cost and whether the investment aligns with your priorities and climate considerations.
Professional Installation: The Value of Expertise
While some homeowners may consider a DIY approach, professional installation comes with its own set of advantages. We’ll discuss the importance of expert installation, potential risks of DIY, and how professional services contribute to the overall cost.
DIY vs. Professional Installation: Weighing the Pros and Cons
We’ll explore the pros and cons of both DIY and professional installation, helping you make an informed decision based on your skill level, time constraints, and budget. While DIY may seem cost-effective, we’ll highlight the potential pitfalls and the value that professional expertise brings to the table.
Hidden Costs: Unveiling Potential Surprises
Beyond the obvious factors, there are potential hidden costs to consider. From necessary structural adjustments to unforeseen complications, we’ll shed light on these surprises, ensuring you’re prepared for the full scope of the project.
Budget-Friendly Tips: Maximizing Value without Sacrificing Quality
For homeowners on a budget, there are strategic ways to maximize the value of a replacement garage door without sacrificing quality. We’ll provide practical tips and considerations to help you make cost-effective decisions throughout the process, ensuring that your investment aligns with your financial goals.
Conclusion:
In conclusion, replacing a Garage Door Repair is a significant investment that requires careful consideration of various factors. From material choices to insulation options and installation methods, each decision contributes to the overall cost. Armed with this knowledge, you can approach the process with confidence, ensuring your new garage door meets both your functional and aesthetic needs.
Lancaster Garage & Overhead Doors
661-232-0154